DIY: Mosaic thrift frame
You can always find awesome frames at your local thrift store. I never ever buy frames new since you can score gorgeous frames on budget secondhand. And if you find boring frames it’s easy enough to refashion them into something stunning. Here’s a fun, slightly messy DIY using a thrift store frame and upcycled CDs. Try this on a frame and if you like the end result then use it for other items needing an update.
Supplies:
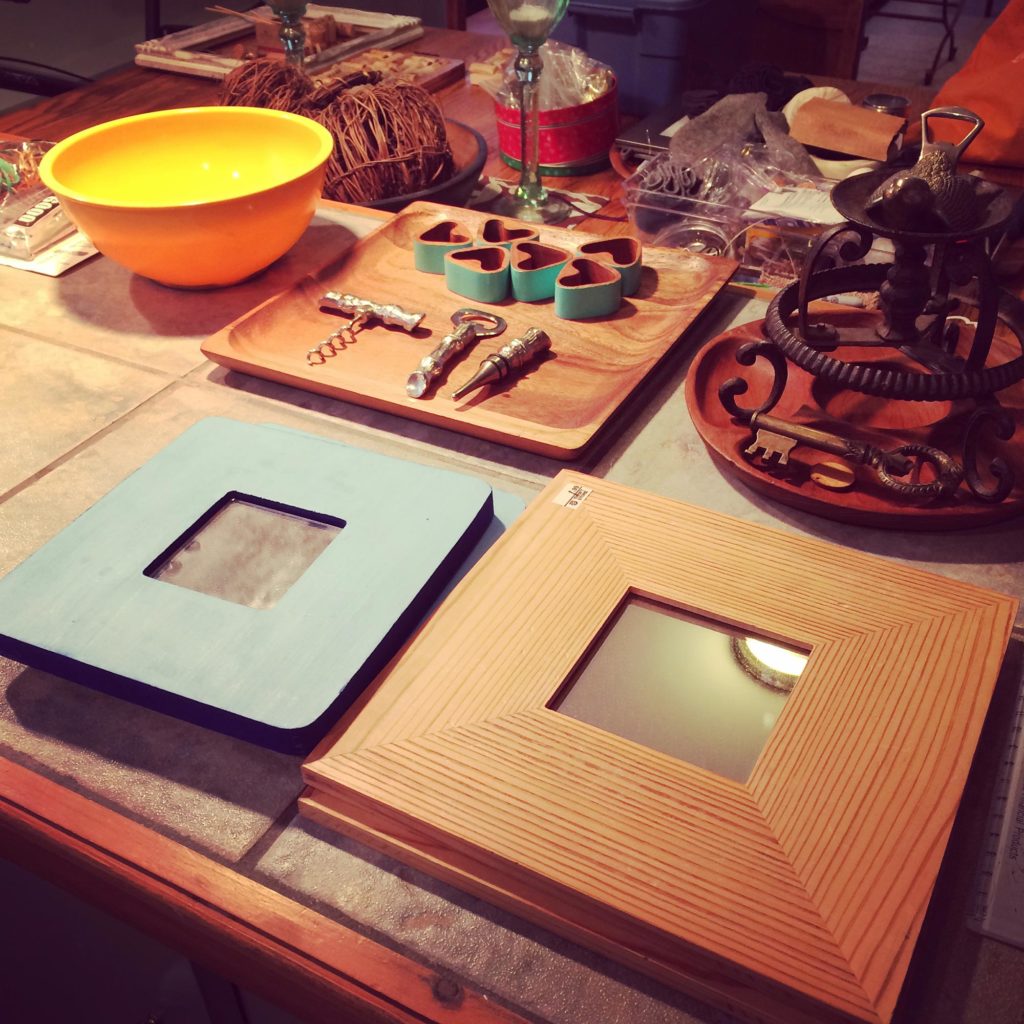
- a frame with a flat surface
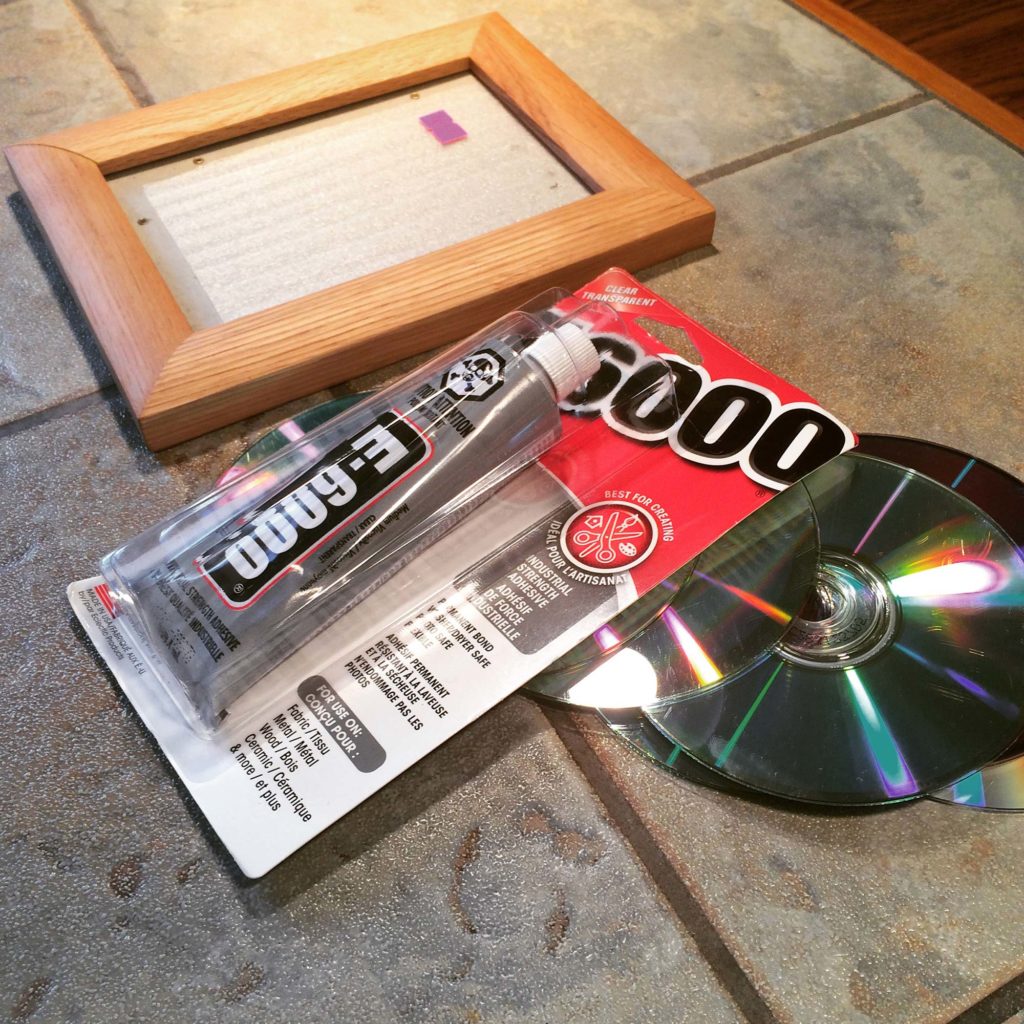
- old CDs
- scissors
- adhesive for the CD pieces (I used E-6000)
- white paint
- paint or sponge brush
- a paper towel
- Mod Podge or Varathane
Drop by your local thrift store to source a basic frame ideally with a flat surface. I scored a bunch ranging in price from $0.99 to $1.99. Keep in mind the larger the surface the more CD pieces you’ll need and the more time the project will take.
Next you’ll need to pick up an adhesive for the CD pieces. I used E-6000. You can get this at your local Michaels or hardware store.
Next I recommend you cut up your CDs. I would do this first building up a pile of pieces in various sizes. Using scissors isn’t the easiest and it can get messy so maybe put down paper to contain any mess incurred.
Note: some DIYs suggest soaking the CDs in warm water or having a lit candle close by to heat the CDs and avoid the film from flaking off.
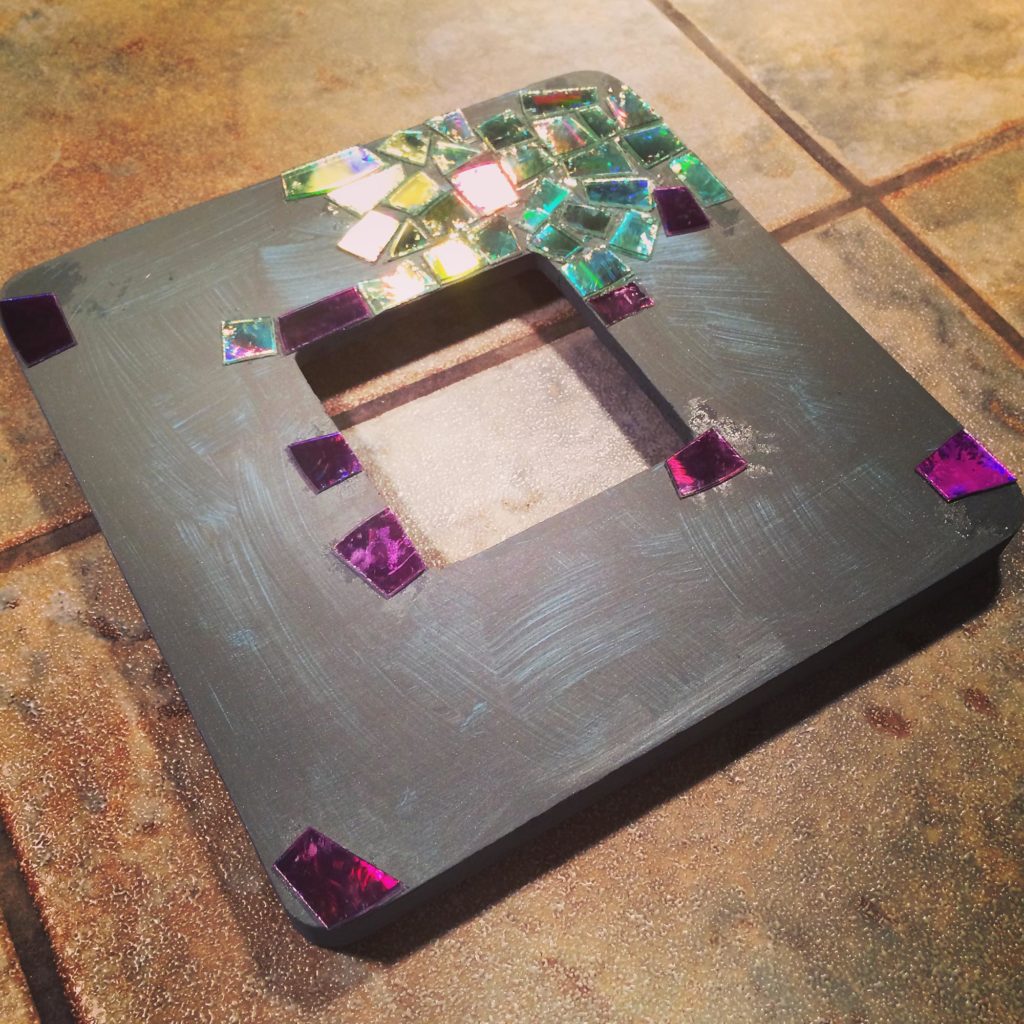
Once you have a big pile of CD pieces you’re ready to get started. First remove the mirror from the frame. I then painted it with grey and silver. If your thrift store frame has a natural finish I would paint it if you want the exposed areas between your CD pieces to be something other than natural wood. Also I found the CD pieces tended to glue easier to paint than the wood.

Once the paint is dry then you can start adding the CD pieces. Add the adhesive to the area of the frame you want to start with then add a CD piece.
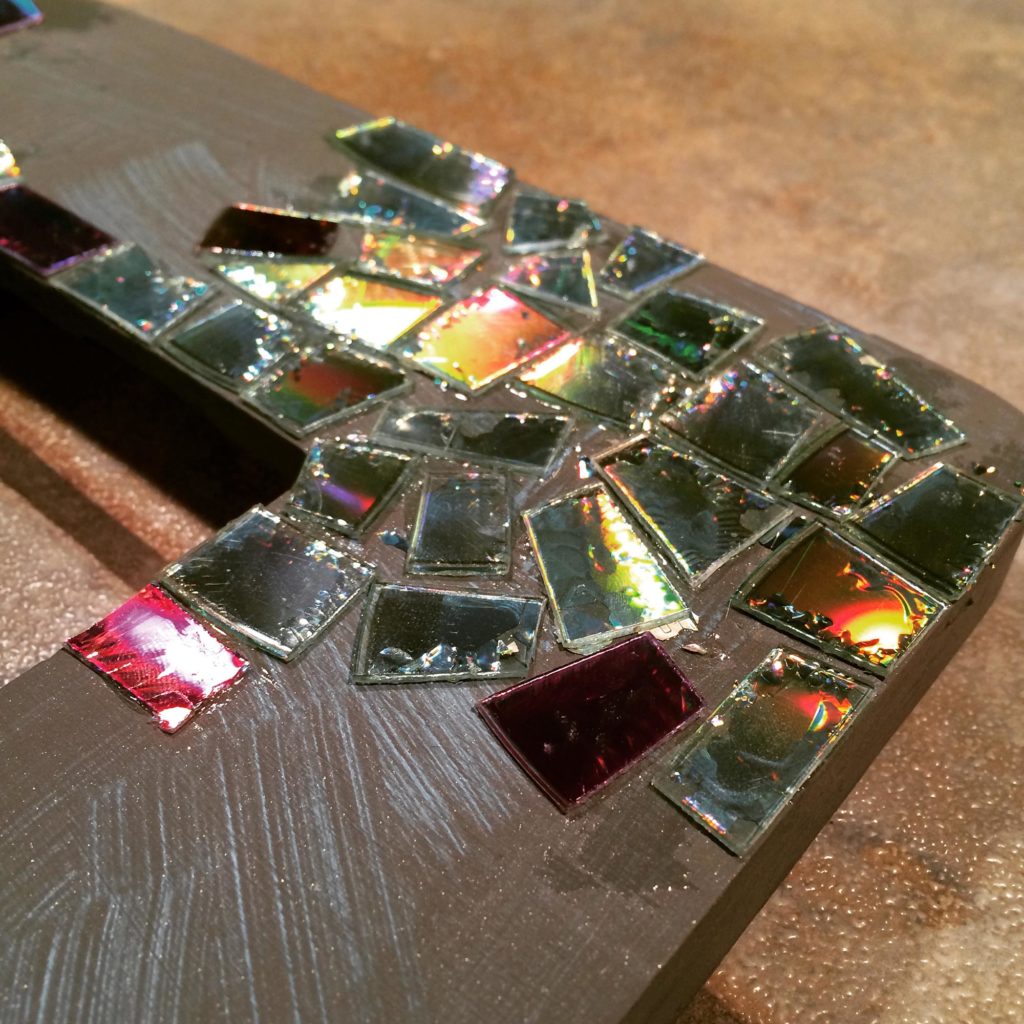
I mixed up the colours of the pieces from various CDs to make the mosaic more interesting. You can start in one corner and work around or add pieces in different areas. It’s up to you!
Once you’re done and have allowed the glue to dry then you can paint the surface with white craft paint. This will give it a plaster finish.
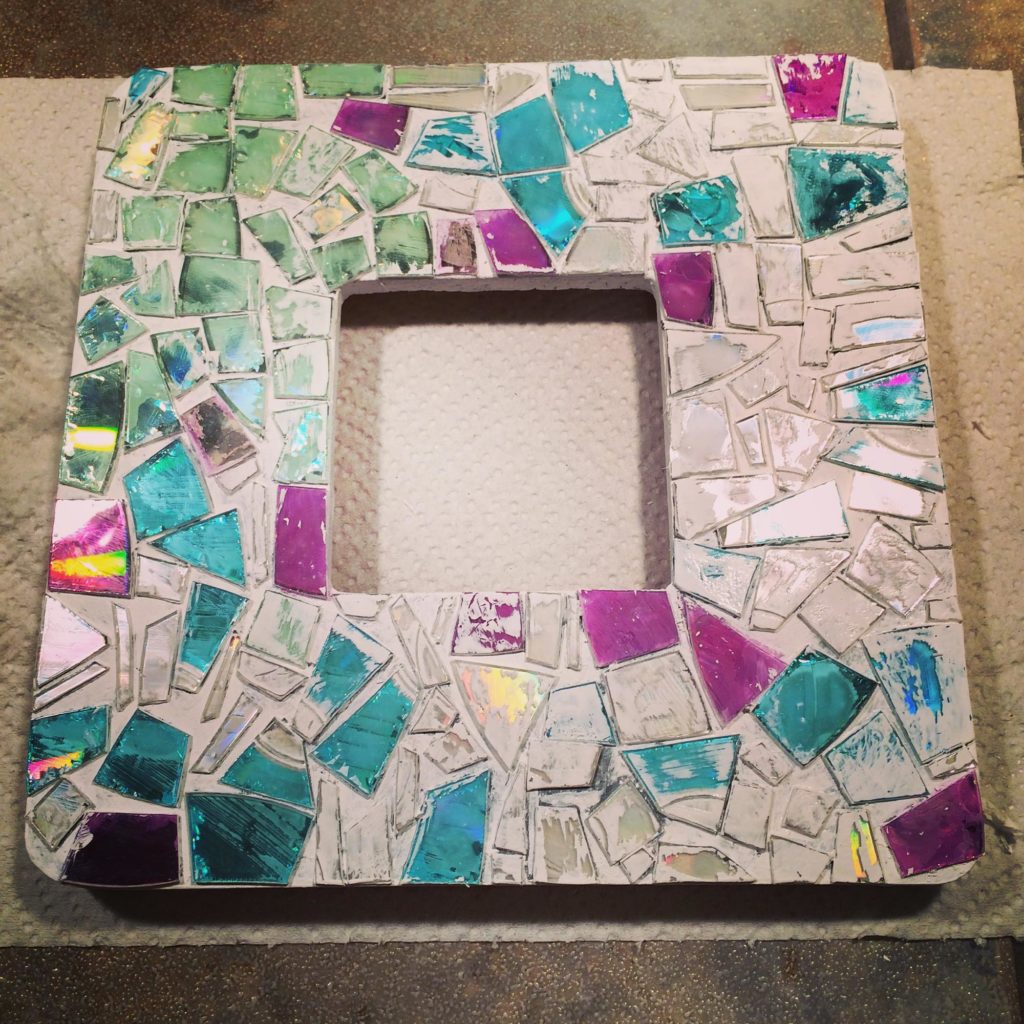
I then wet a piece of paper towel to remove the white paint from the CD pieces. The paper towel should be slightly wet and be sure to rub gently on the CD pieces or you may end up removing them.
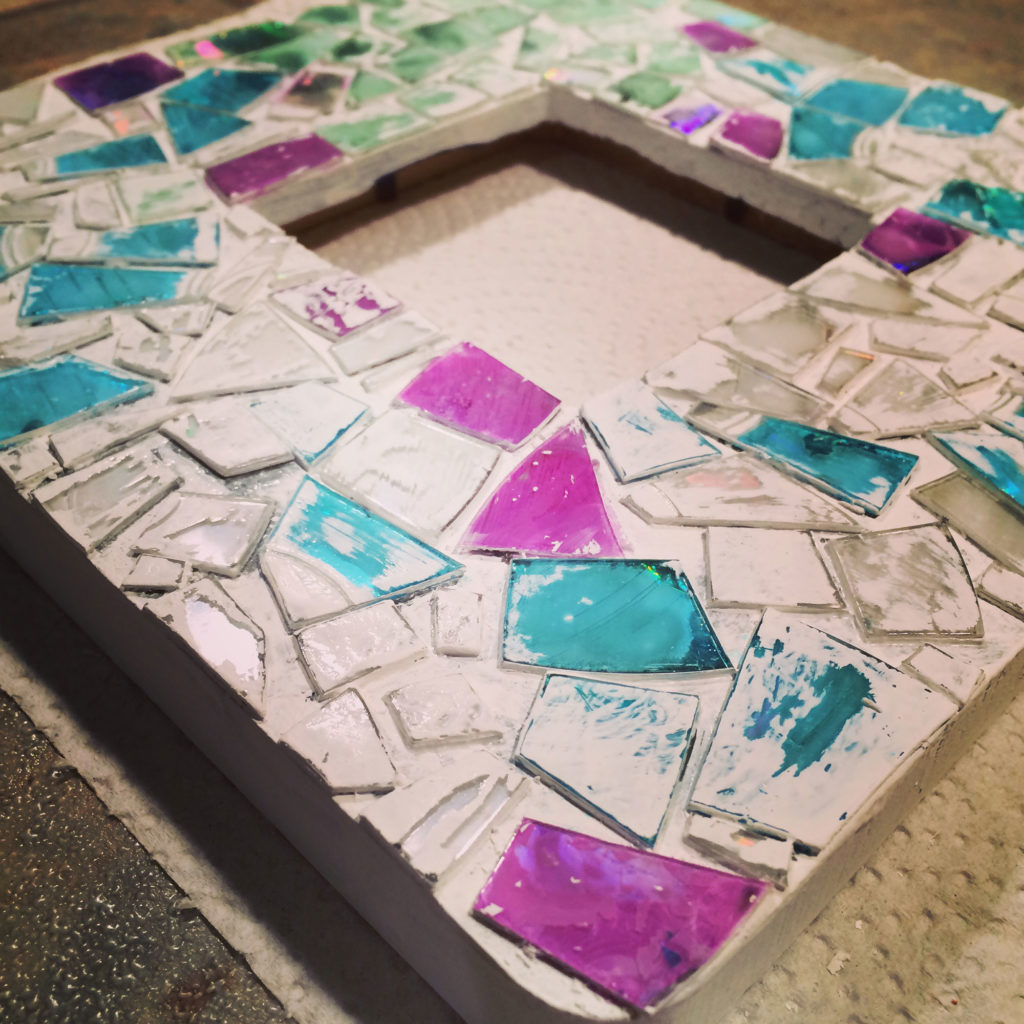
Allow paint to dry then seal with either Mod Podge or spray Varathane.
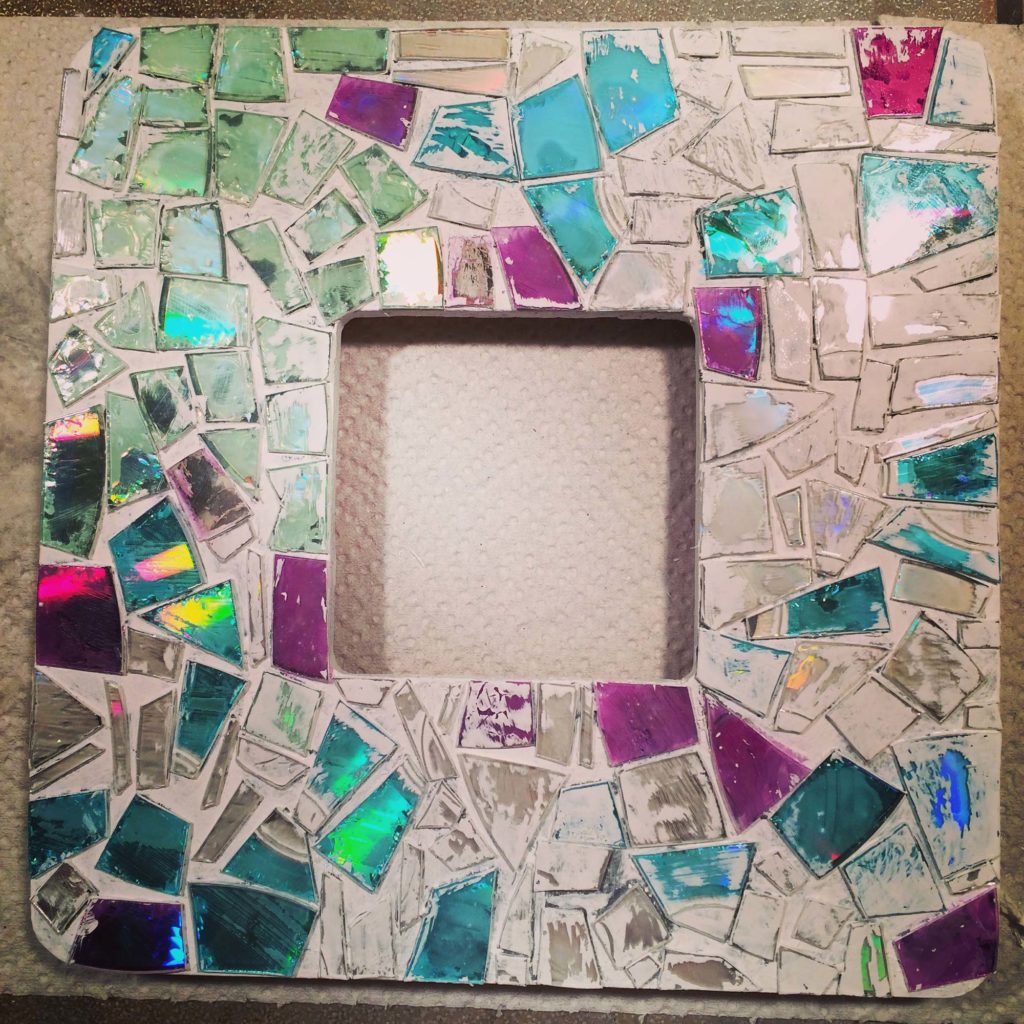
And that’s it! Now you can add the mirror or photo and glass back to the frame then hang it. It’s definitely a statement piece and hopefully worth all of the work.
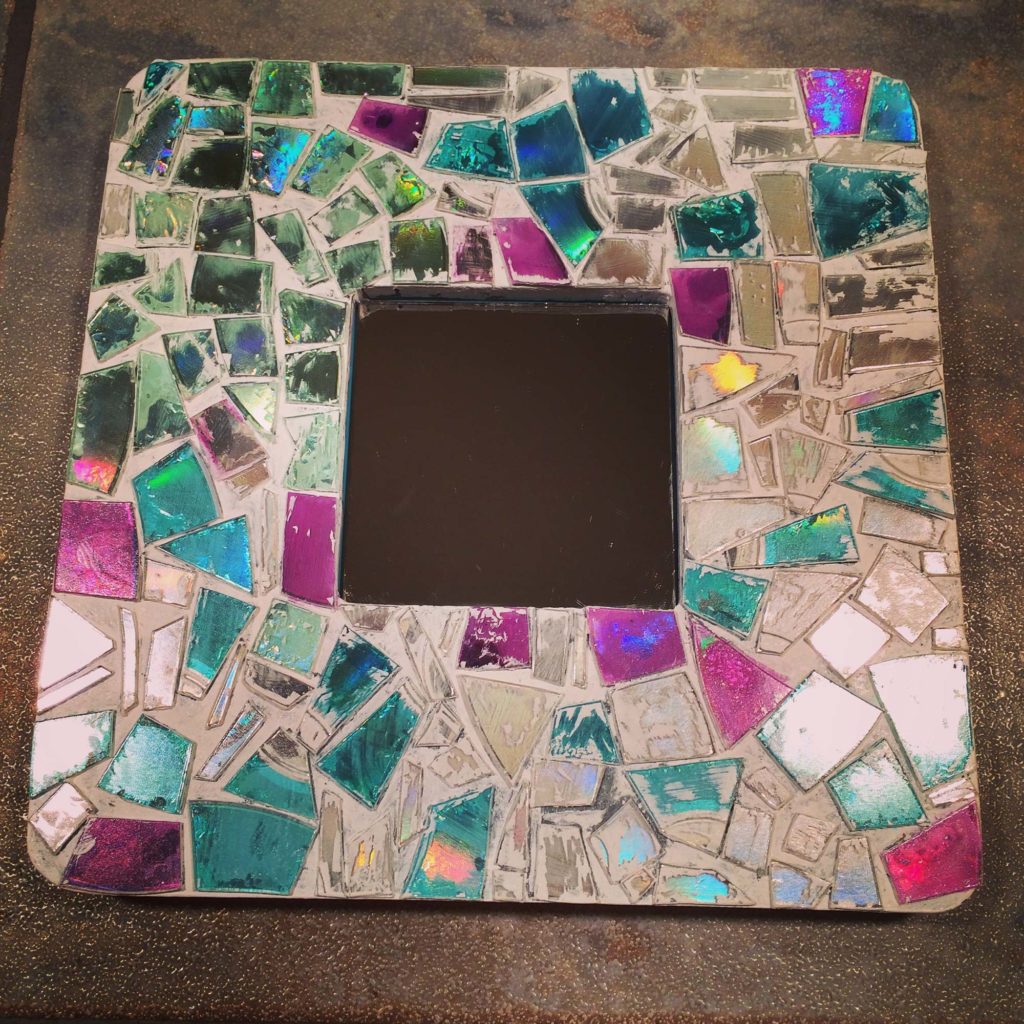
For under $5 and a couple of hours of work this is a fun and funky way to refashion boring secondhand frames. Plus repurpose all those old CDs we end up collecting.


Get in Touch
Say hello . . . 604.354.5811
Drop me a line . . . denise@craftingwithcrap.com
Find me at . . . www.denisecorcoran.com
Crafty adventures via . . . www.thriftybydesign.ca
News & Events
Keep up to date at . . . www.instagram.com/deniseccorcoran