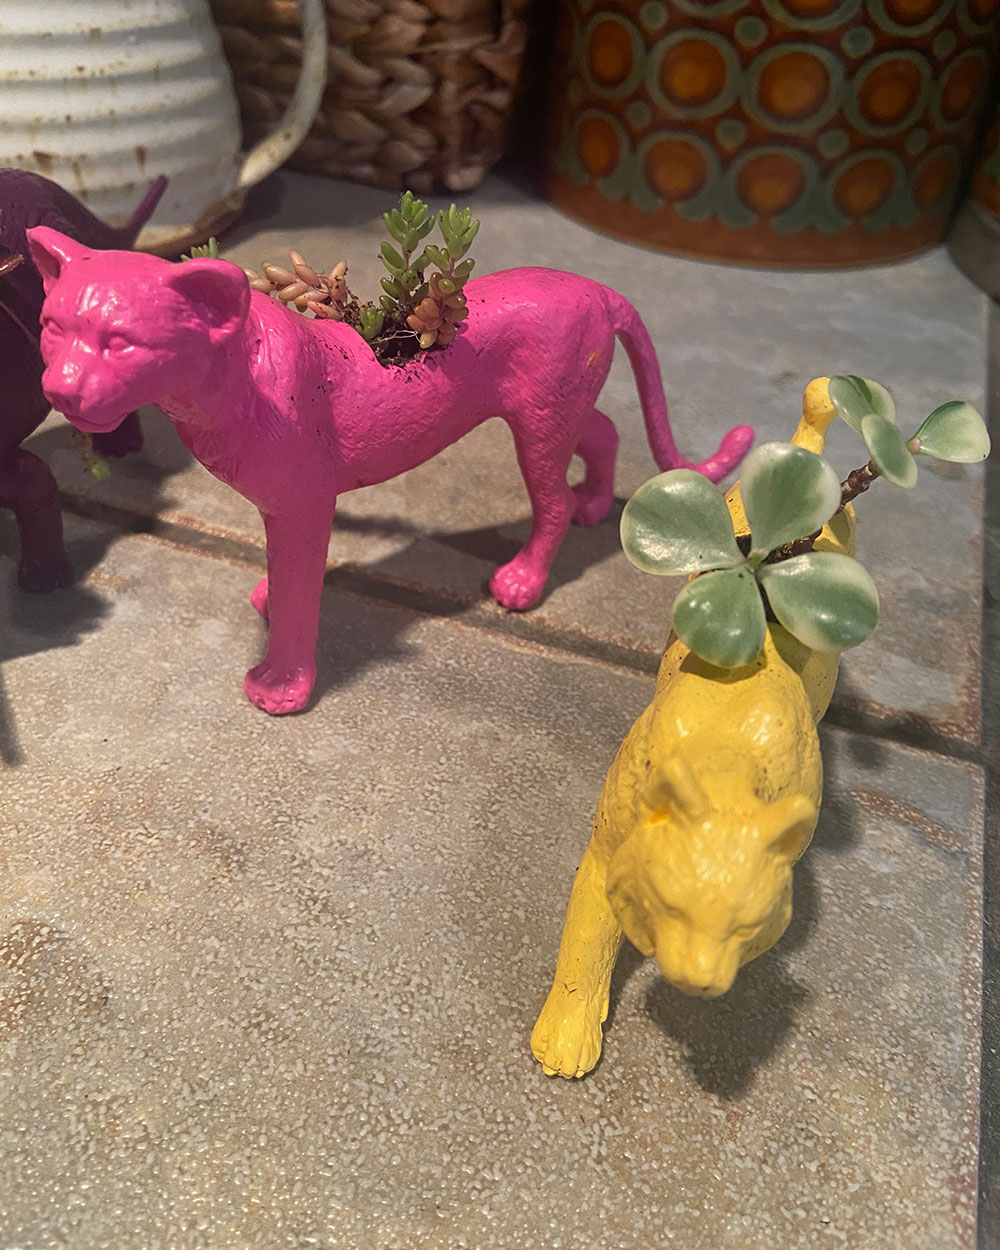
DIY: Plastic animal planters
Give your succulents even more character with this fun, simple and cheap DIY that makes planter magic out of thrifted treasures. I even levelled up this project by using up old craft paint and taking cuttings from my stash of succulents.
Supplies:
- hollow plastic toys
- craft paint
- Mod Podge or white glue
- brush
- scissors, X-Acto knife
- awl, screw driver or drill
- soil
- succulent cuttings
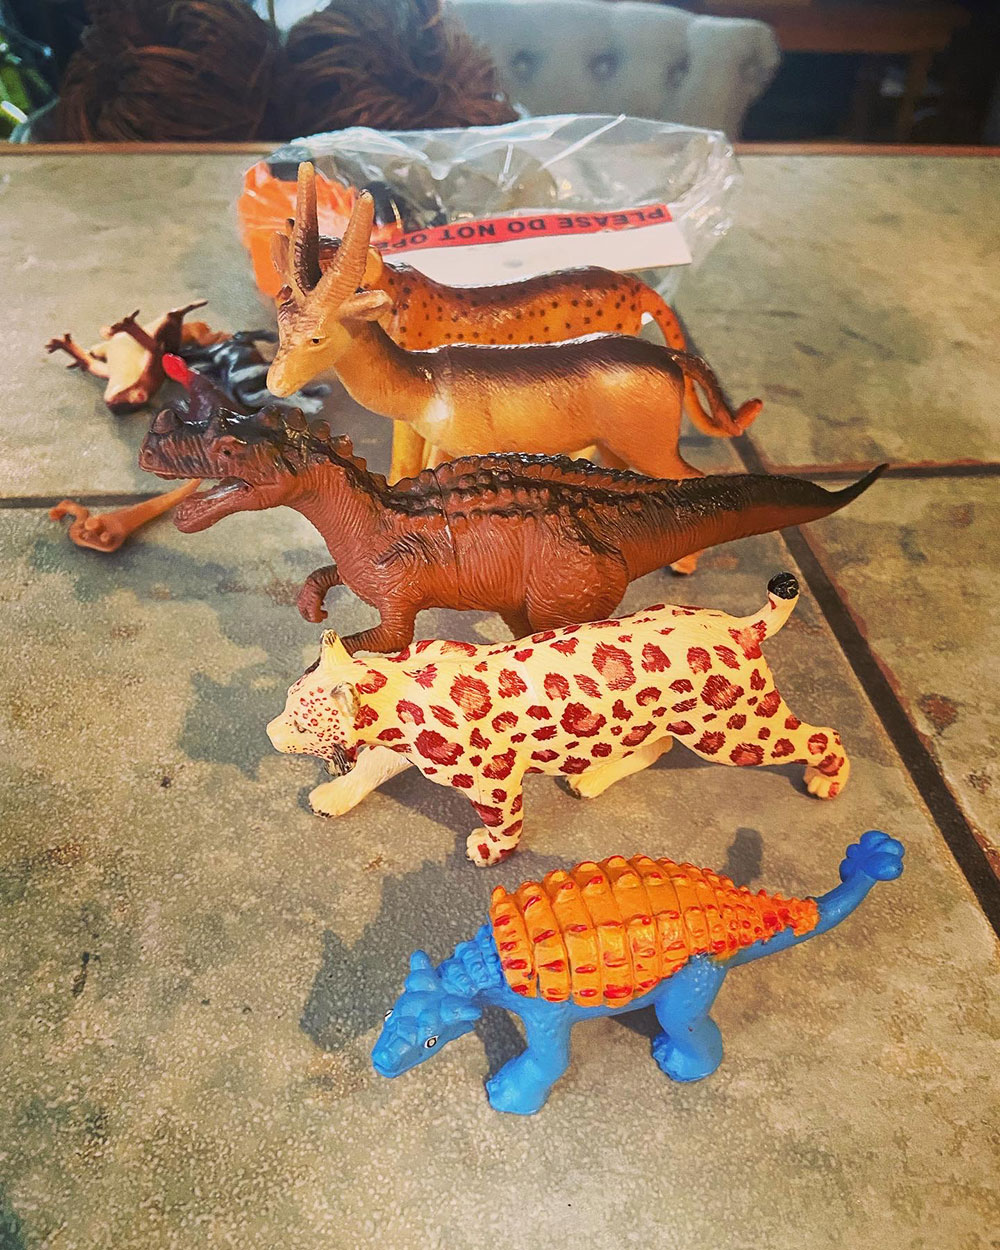
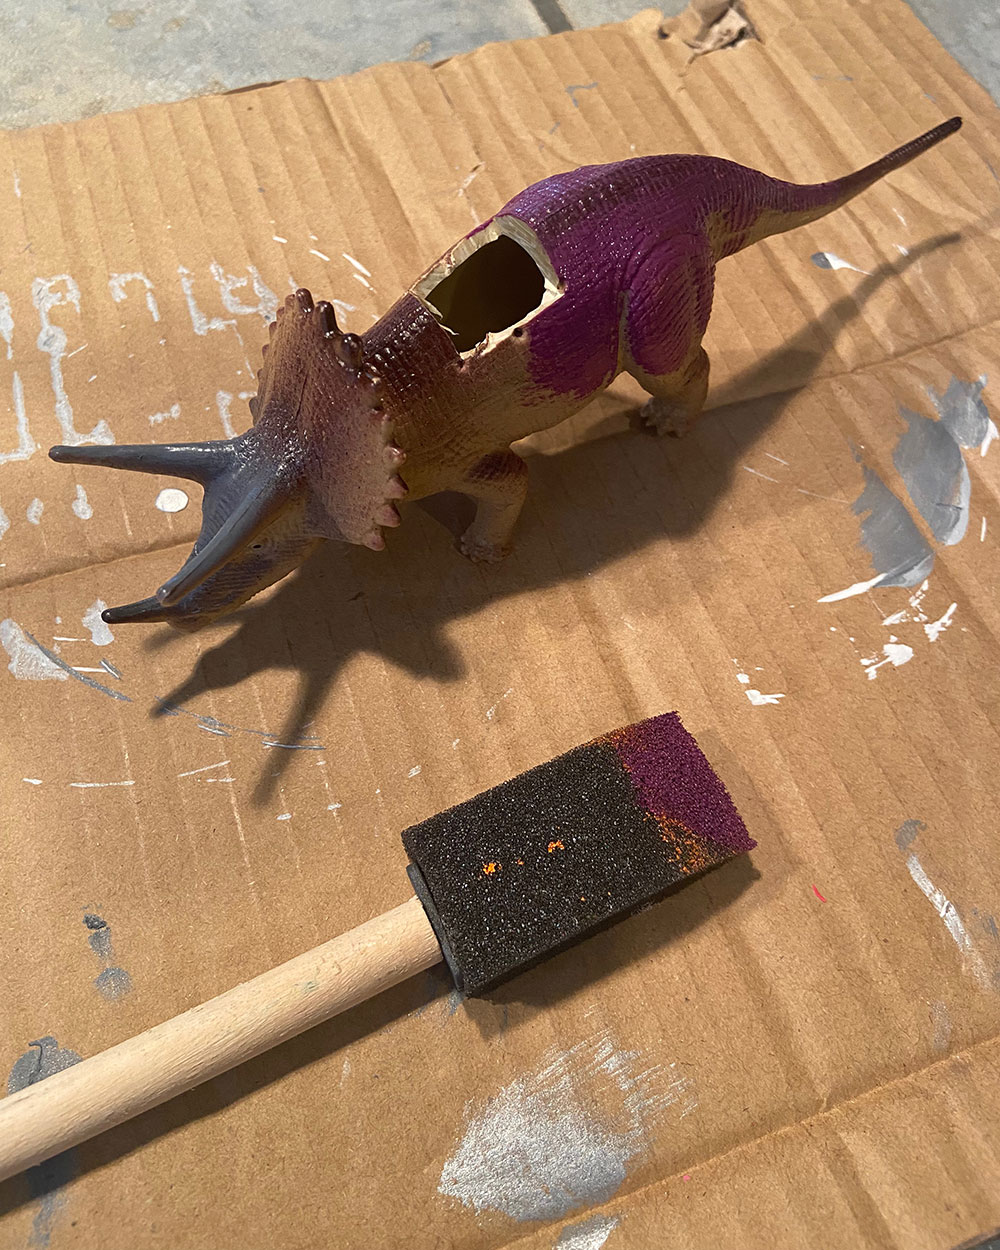
Drop by your local thrift store to track down the plastic toys. These can be zoo creatures or dinosaurs. You’ll want these to be hollow so you can make a hole for the planter.
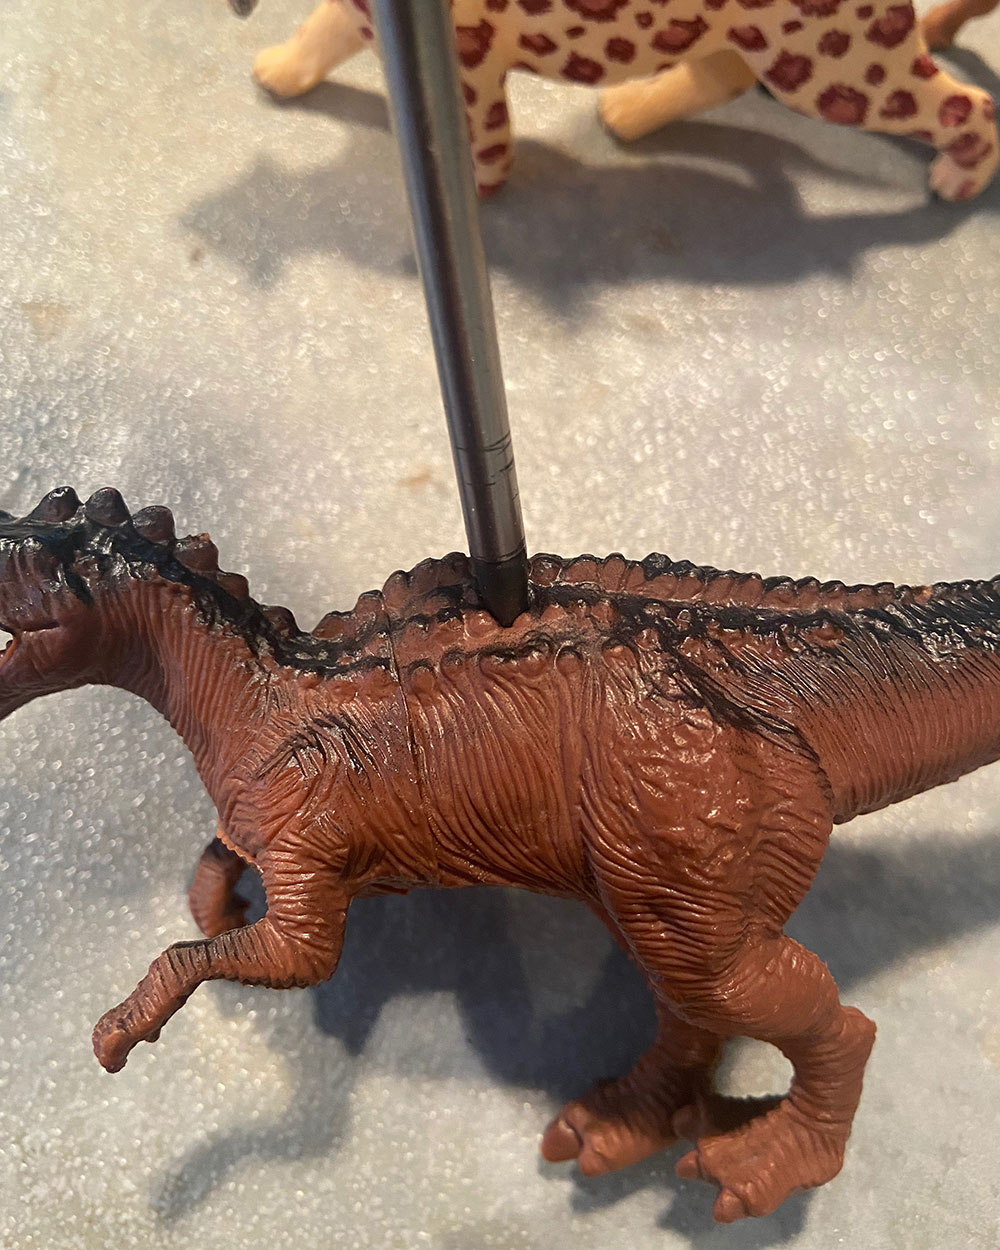
I used my awl to create holes in the top of the plastic animals. I added 4 holes in the shape of a square. You can always use a screw driver or drill to make the holes. Start with a small square. You can always make the hole bigger later if need be.
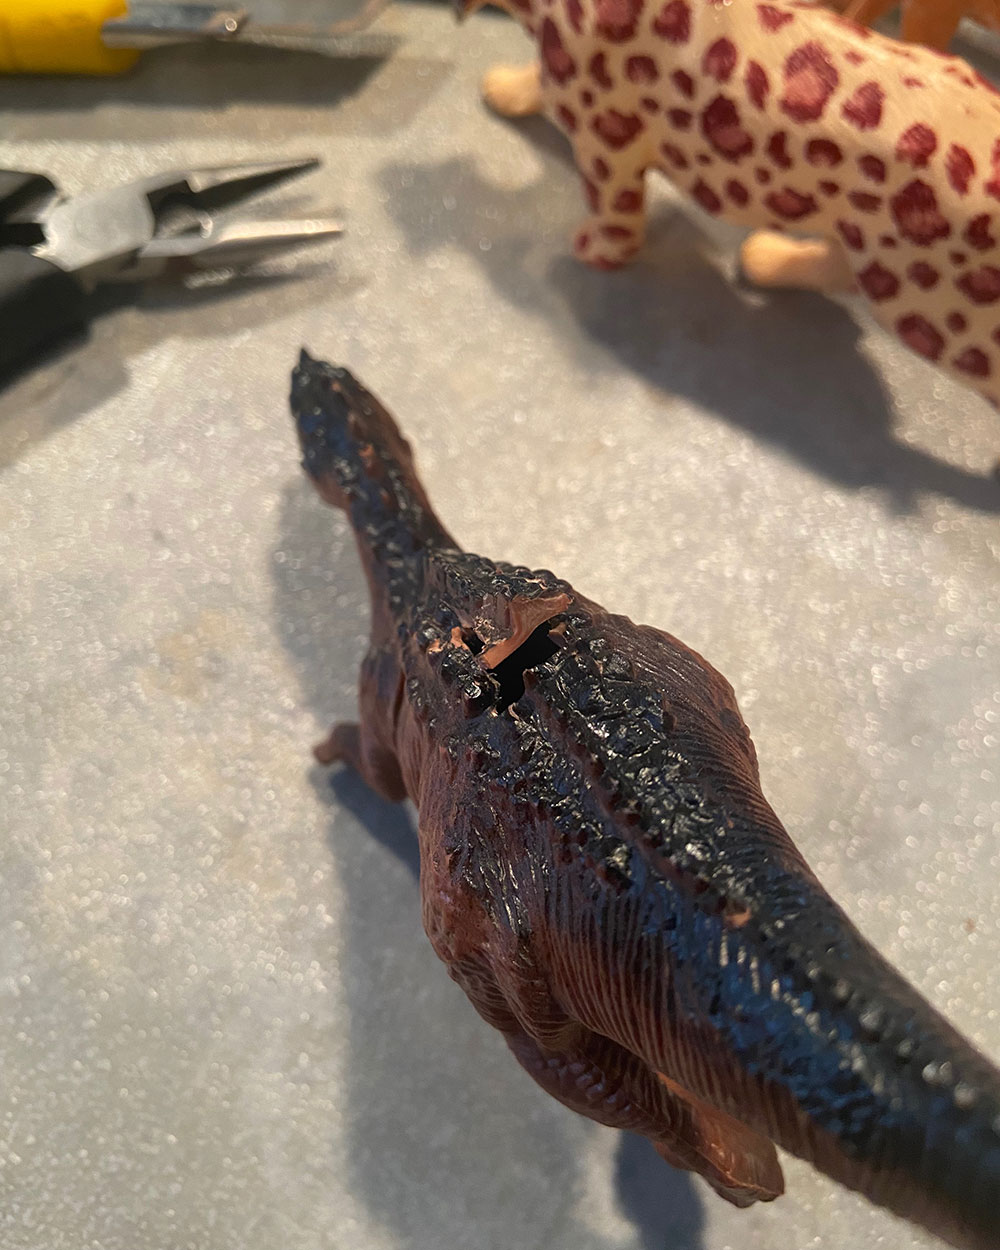
Now use either your scissors or an X-Acto knife to cut between the holes and make the opening for your succulent.
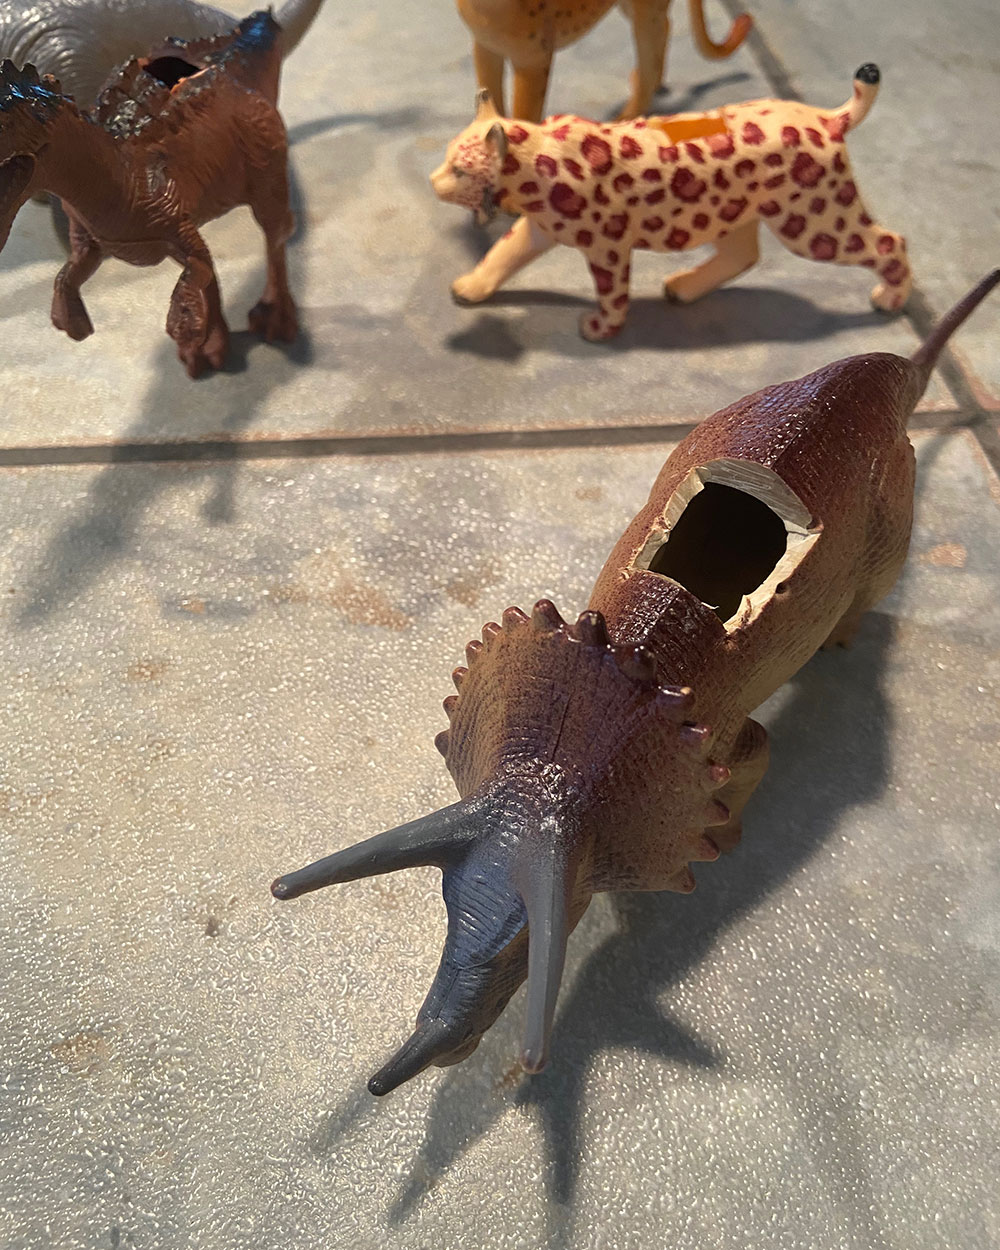
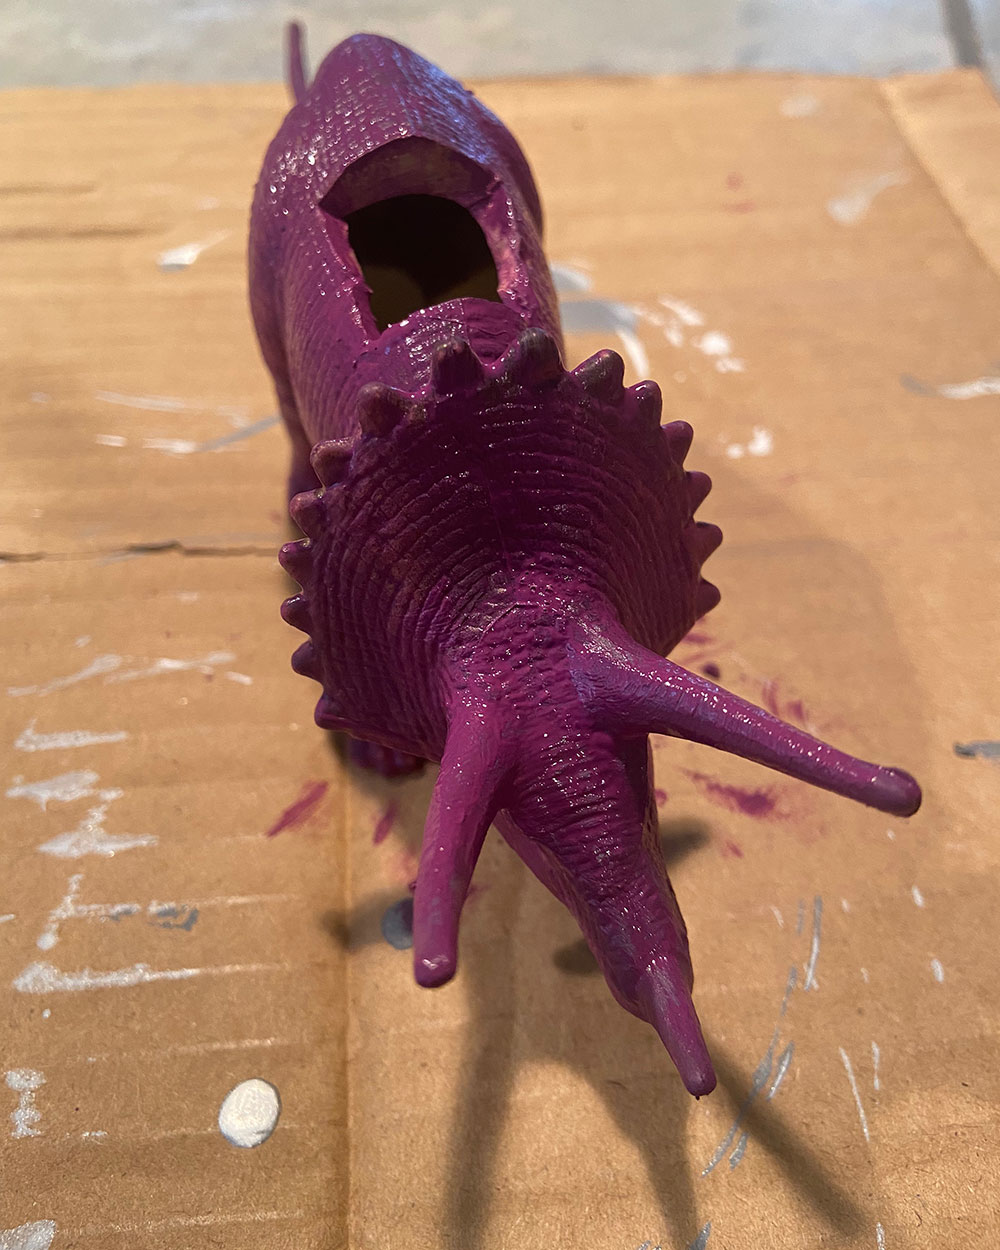
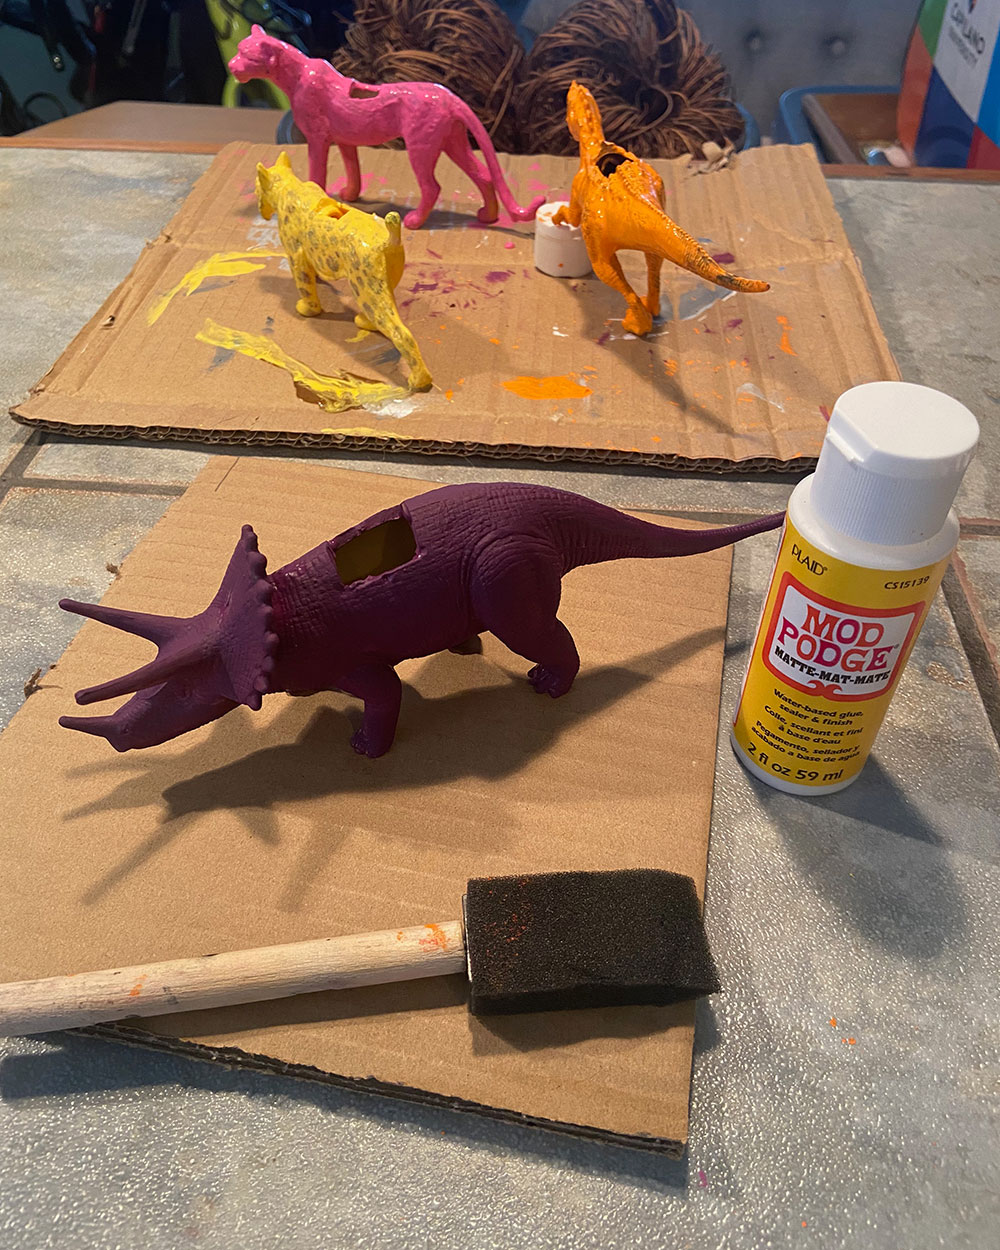
Once you’ve added the hole for your planter, you’re ready to paint. Add 2-3 coats of acrylic paint to each animal. Allowing the paint to dry between coats. This should create a solid finish.
Seal the paint with a coat of Mod Podge or white glue. Allow to dry.
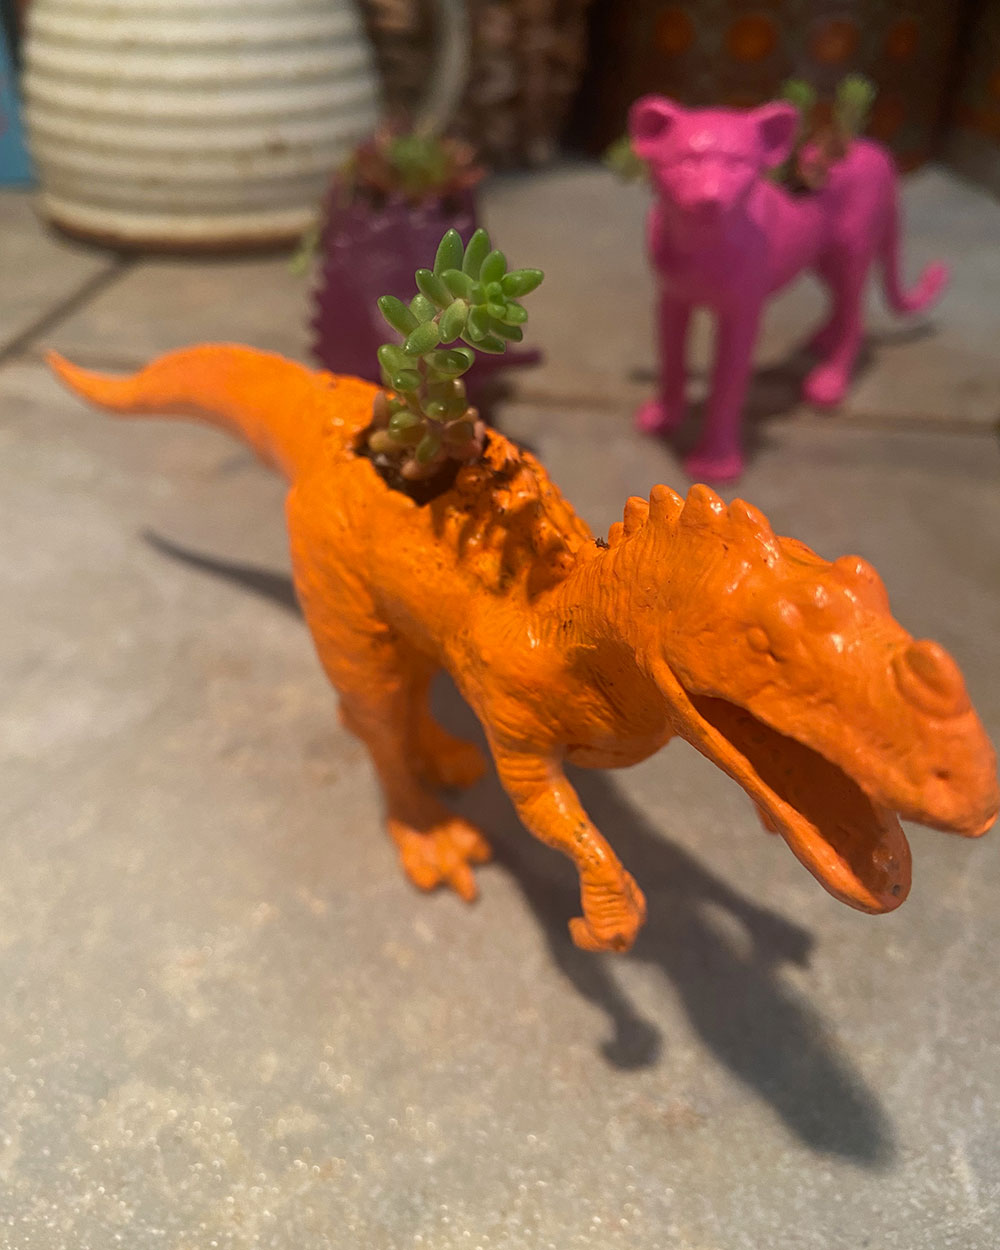
Next you’re ready to add the soil and succulent cuttings. Feel free to add onto this step by adding moss or other embellishments.


Get in Touch
Say hello . . . 604.354.5811
Drop me a line . . . denise@craftingwithcrap.com
Find me at . . . www.denisecorcoran.com
Crafty adventures via . . . www.thriftybydesign.ca
News & Events
Keep up to date at . . . www.instagram.com/deniseccorcoran