DIY: Reusable food wrap
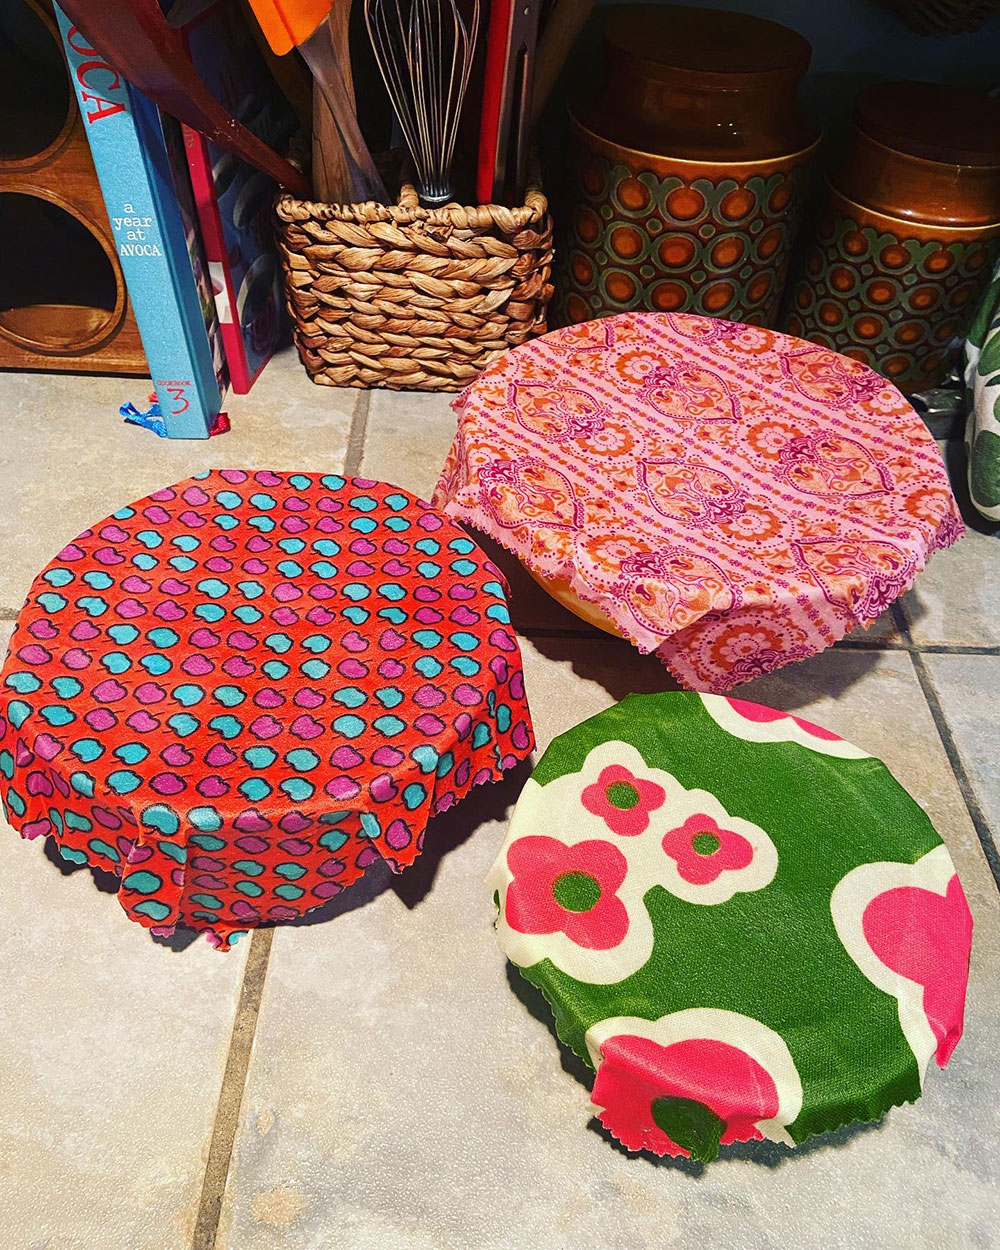
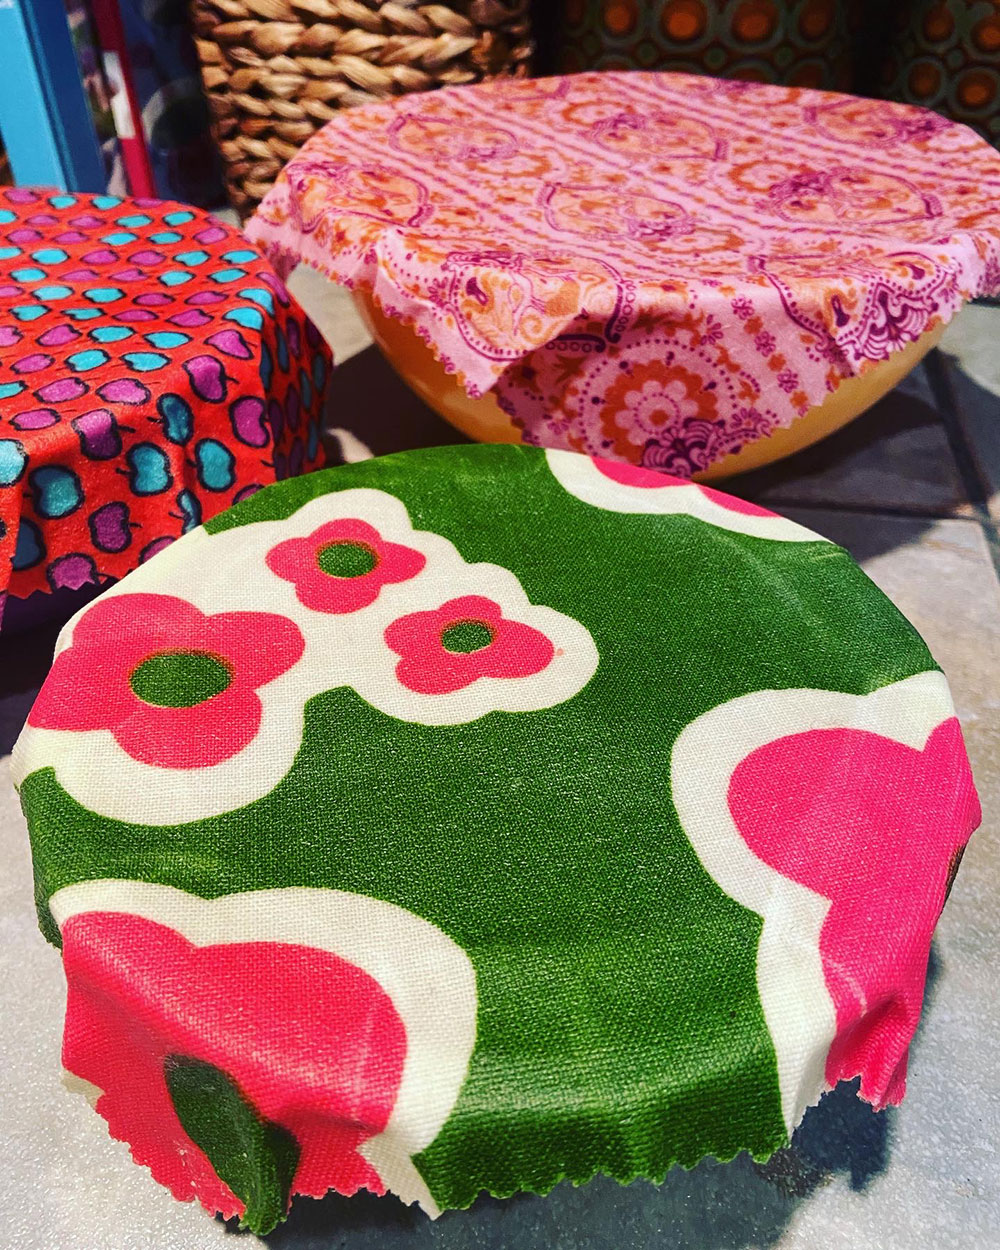
Here’s a simple and super useful DIY that’s also darn thrifty – reusable food wrap. Most materials can be sourced from your local thrift store. I love this upcycling project since I’ve been working remotely for the past while and trying to minimize my eating out. Having some handy dandy reusable food wrap for my leftovers is a win… and when I’m back in the office and bringing lunch to work. Bingo! I have some very swanky ways to package it up.
Supplies:
- thrifted fabric (100% cotton and not too thick)
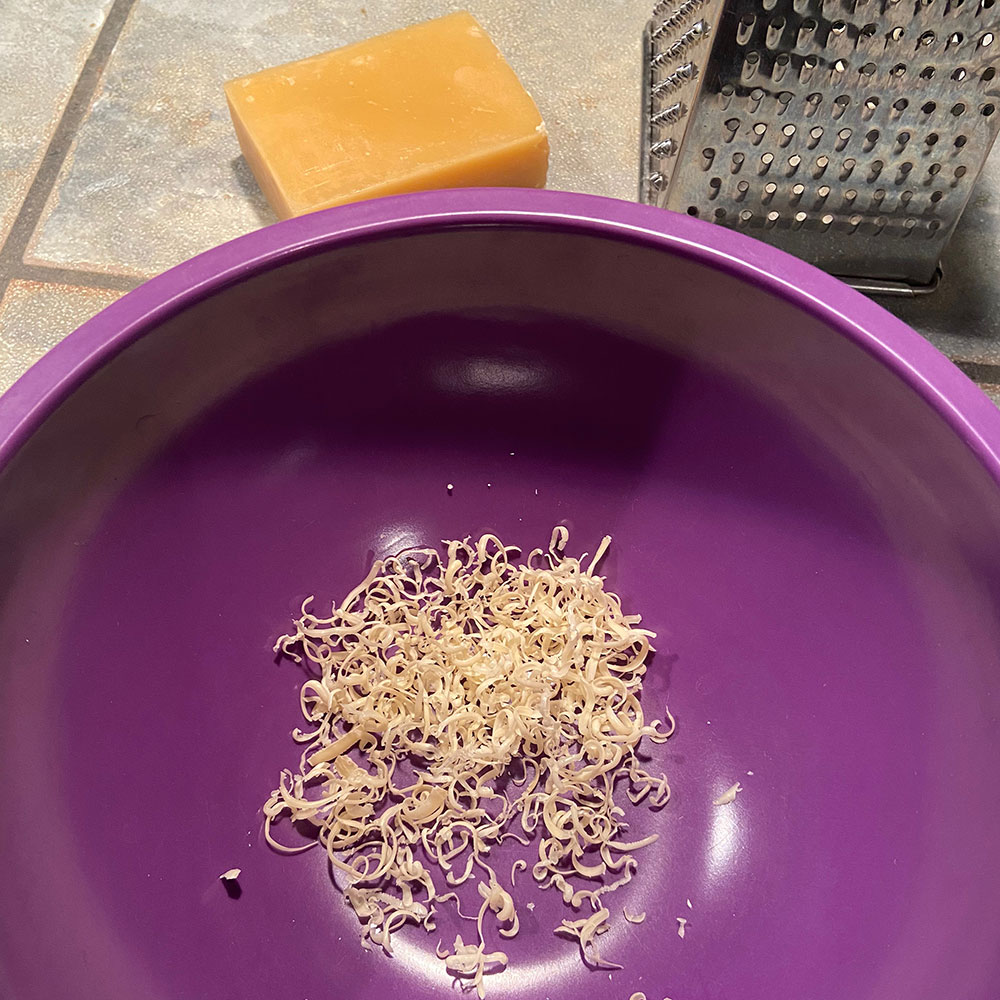
- beeswax bar or pellets
- scissors or pinking shears (scissors will work but pinking shears help minimize fraying)
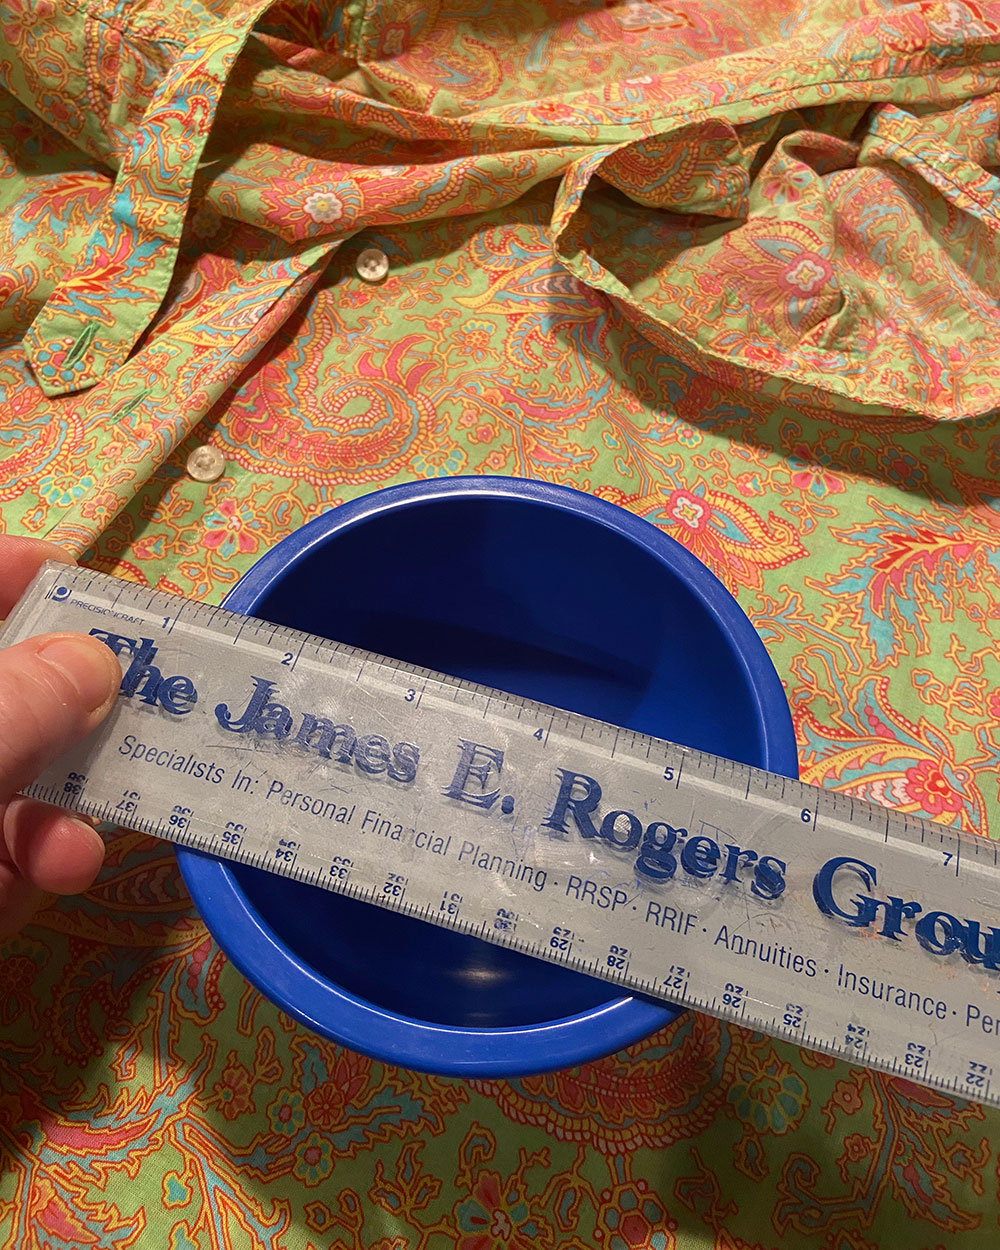
- ruler or tape measure
- knife or cheese grater if you can’t source beeswax pellets
- cookie sheet
- parchment paper
- paintbrush
- oven
- oven mitts
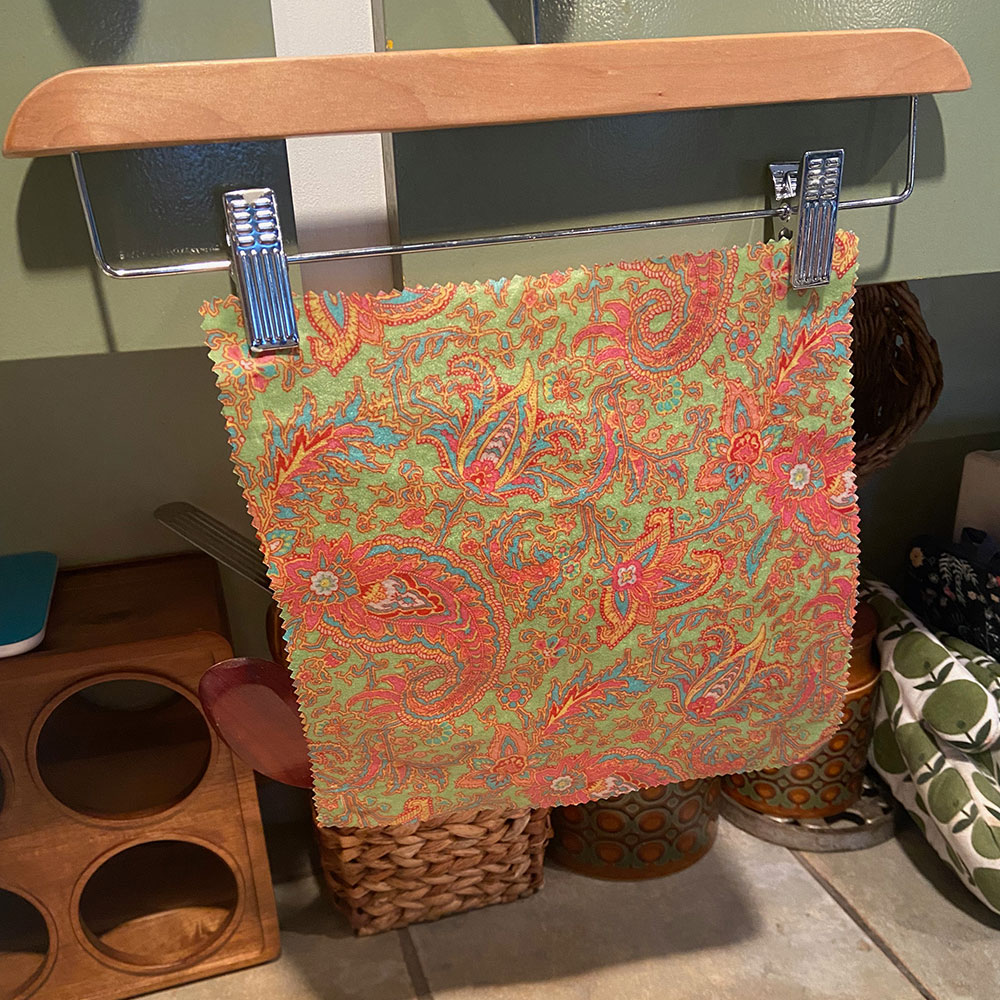
- hanger with clips (something to hang the fabric with)
Note: I kept this DIY simple with minimal cost. Some DIYs use powdered pine resin and jojoba oil. Feel free to experiment on the mixture.
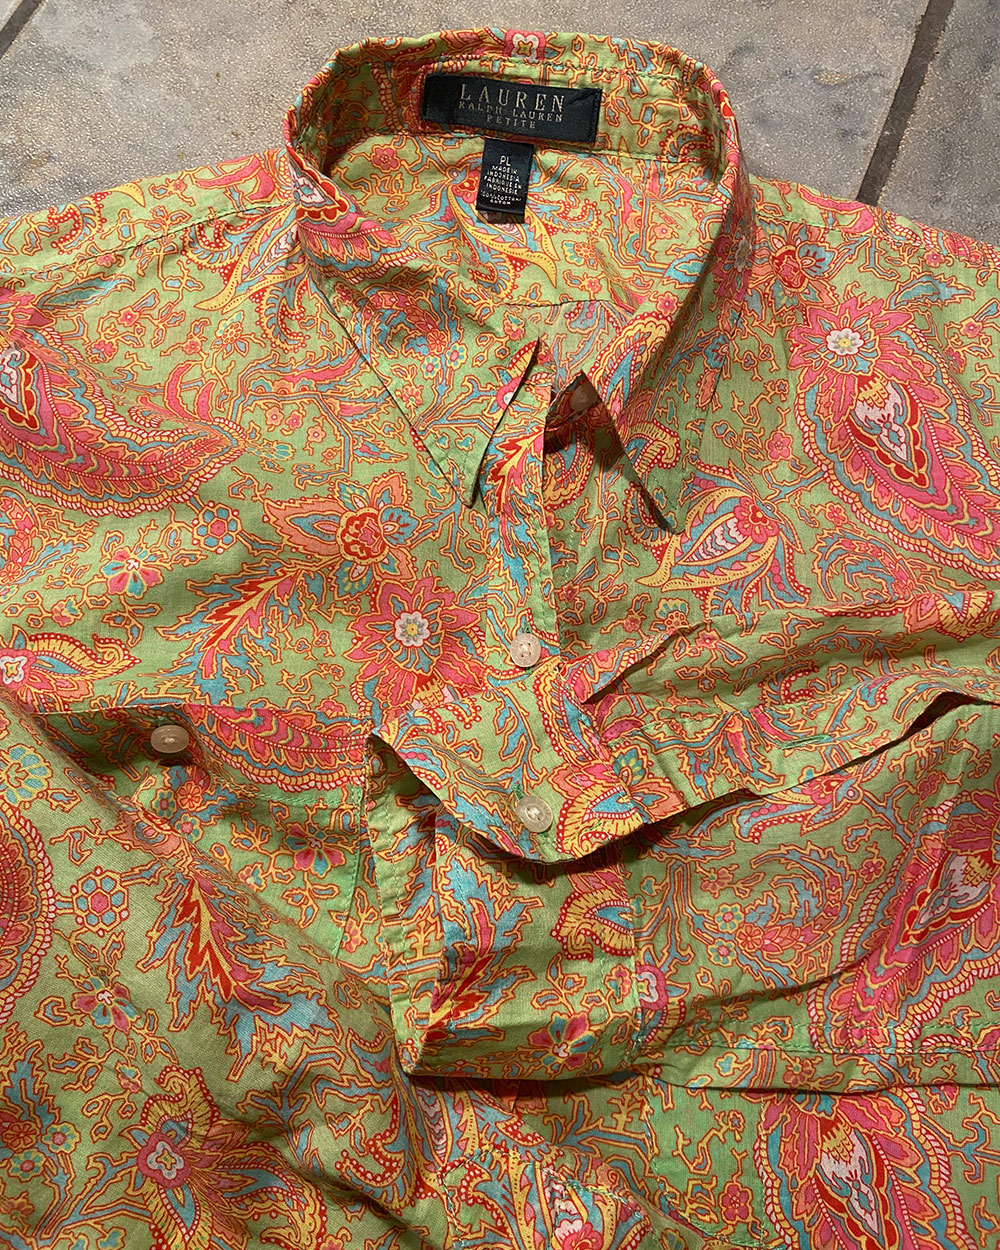
Drop by your local thrift store to source your supplies. For fabric, look for something made with 100% cotton – a blouse, an apron, maybe a pillow cover!
This project is also great for using up any scrap fabric you have in your stash. I found using thicker fabric, like canvas, didn’t work as well.

When measuring the diameter of my bowls, I added an extra inch all around to allow for folding over the edge. I tried to be strategic in how I used the fabric. The arm was perfect for the smaller bowl then the front side for the middle bowl and the back for the larger bowl.
Tip: I did a test run with scrap fabric which was helpful. Some of the fabric I used was thicker than others and didn’t have the best results compared to the thinner fabric.
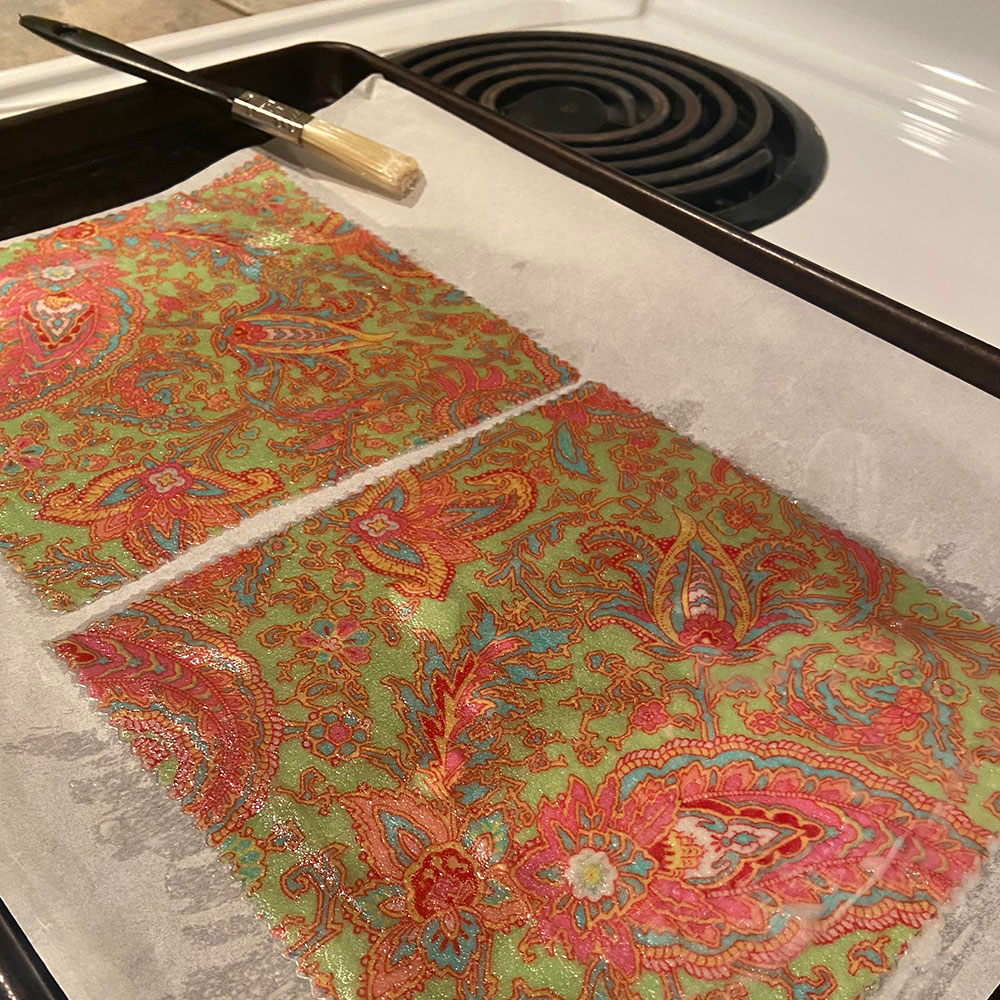
Sprinkle the beeswax on the fabric making sure to distribute it evenly. You can add this sparingly to start and add more once the beeswax melts if you notice some untouched areas.
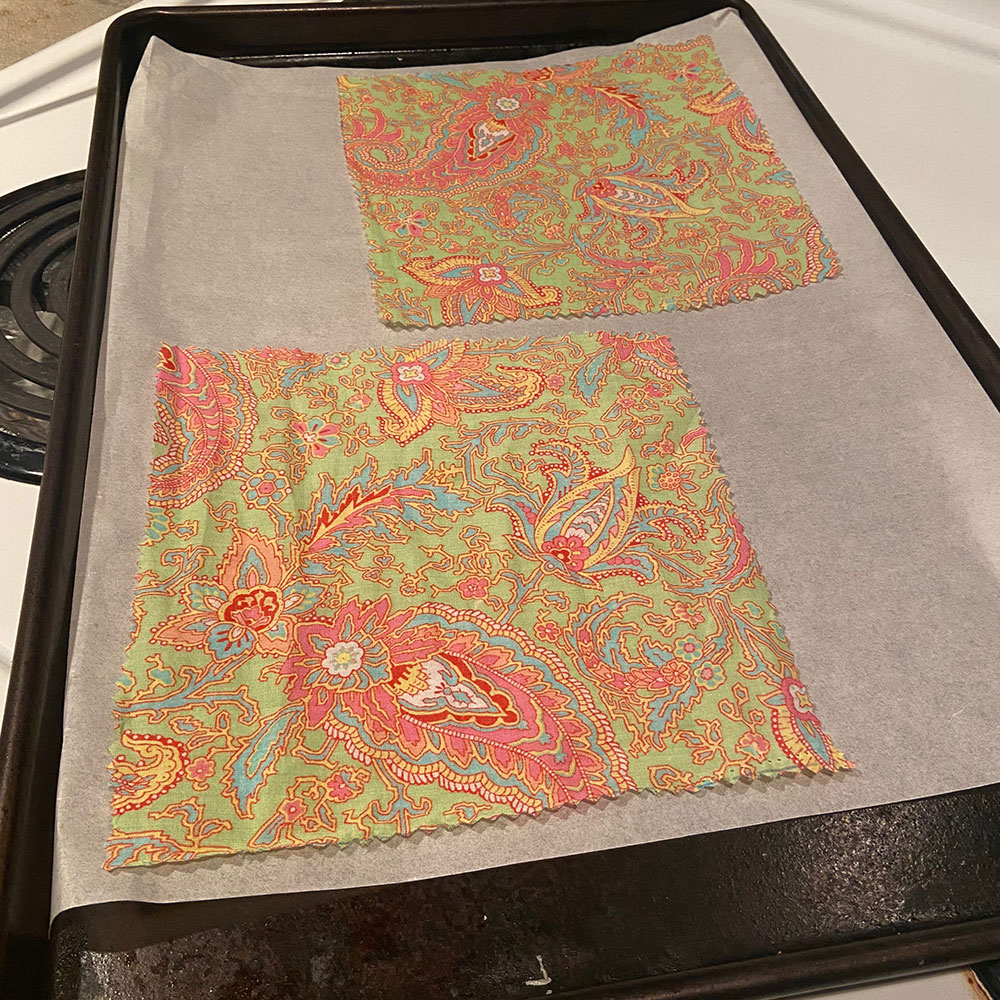

Leave in the oven for approximately 4-5 minutes or until the beeswax fully melts. Depending on the size of the beeswax pieces the time could vary. Add more time if necessary.
Once the beeswax is fully melted then remove from oven. Use your brush to even out the surface then use tongs or your fingers to hang the fabric. I found you needed to do this step pretty fast since the beeswax starts drying quickly and ruins the even finish. Also another time where I put the fabric back in the oven to fix any mistakes I made during this process.

Get in Touch
Say hello . . . 604.354.5811
Drop me a line . . . denise@craftingwithcrap.com
Find me at . . . www.denisecorcoran.com
Crafty adventures via . . . www.thriftybydesign.ca
News & Events
Keep up to date at . . . www.instagram.com/deniseccorcoran