DIY: Wool sweater booties
Wool sweaters are the perfect items to upcycle. You can usually find wool sweaters at your local thrift store that either have holes or have been accidentally felted. For a crafty, upcycling kind of gal these are thrift store gold. Why? Because there are so many things you can repurpose them into. For this DIY, we’re transforming a thrift store find into the cutest baby booties.
Supplies:
- felted wool sweater
- chalk
- scissors
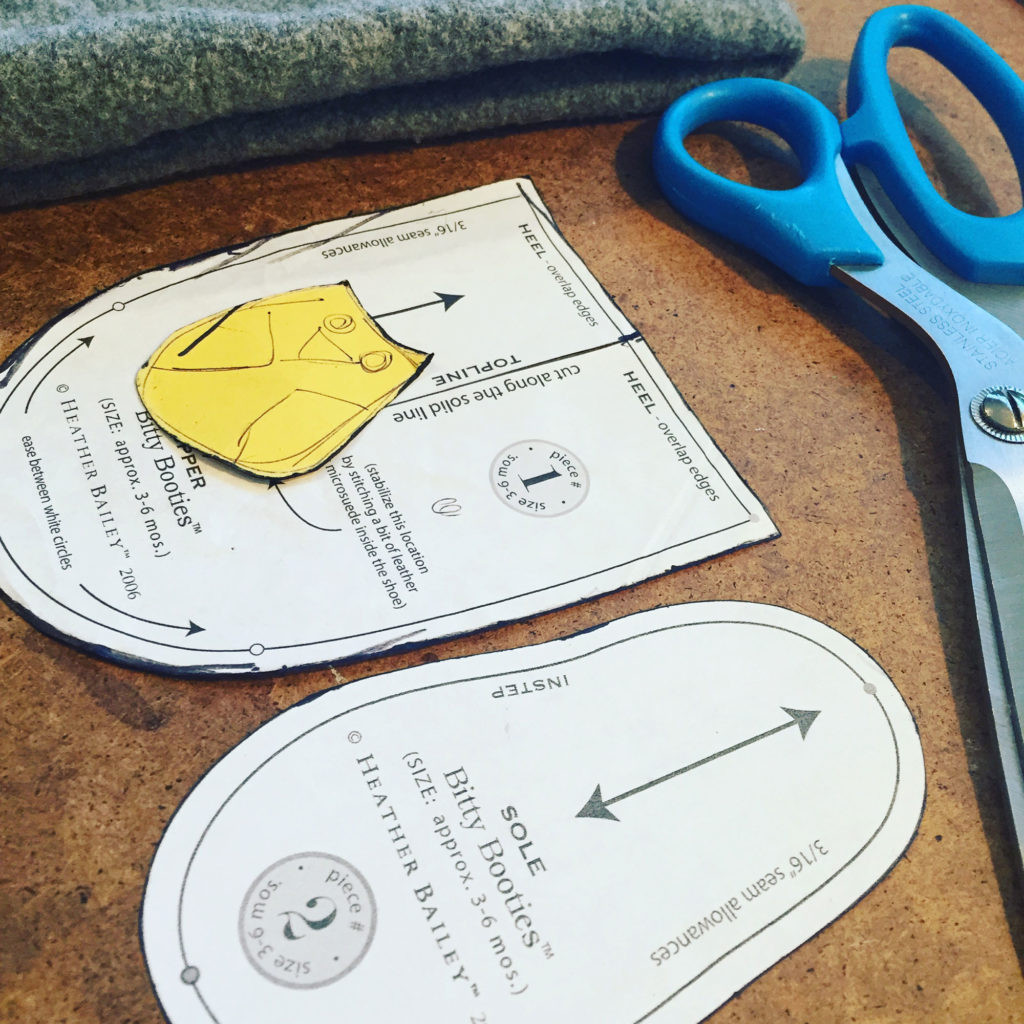
- baby bootie pattern – I use Heather Bailey’s Bitty Booties pattern
- embroidery needle
- embroidery thread
- felt (optional)
- pattern for felt appliqué accent (optional)
If your wool sweater hasn’t been felted then this is your initial step. Wash it in hot water then throw it in the dryer. Make sure you’re using a sweater made from 100% wool.
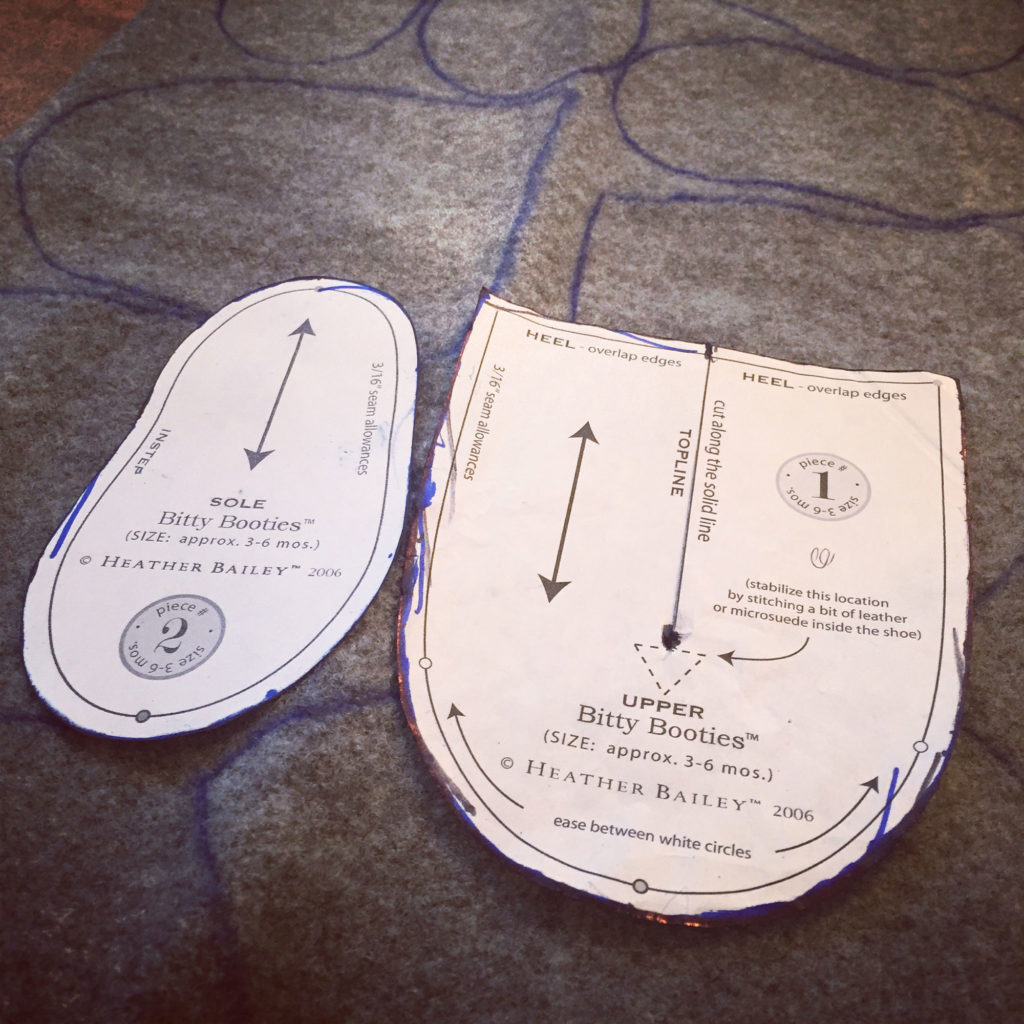
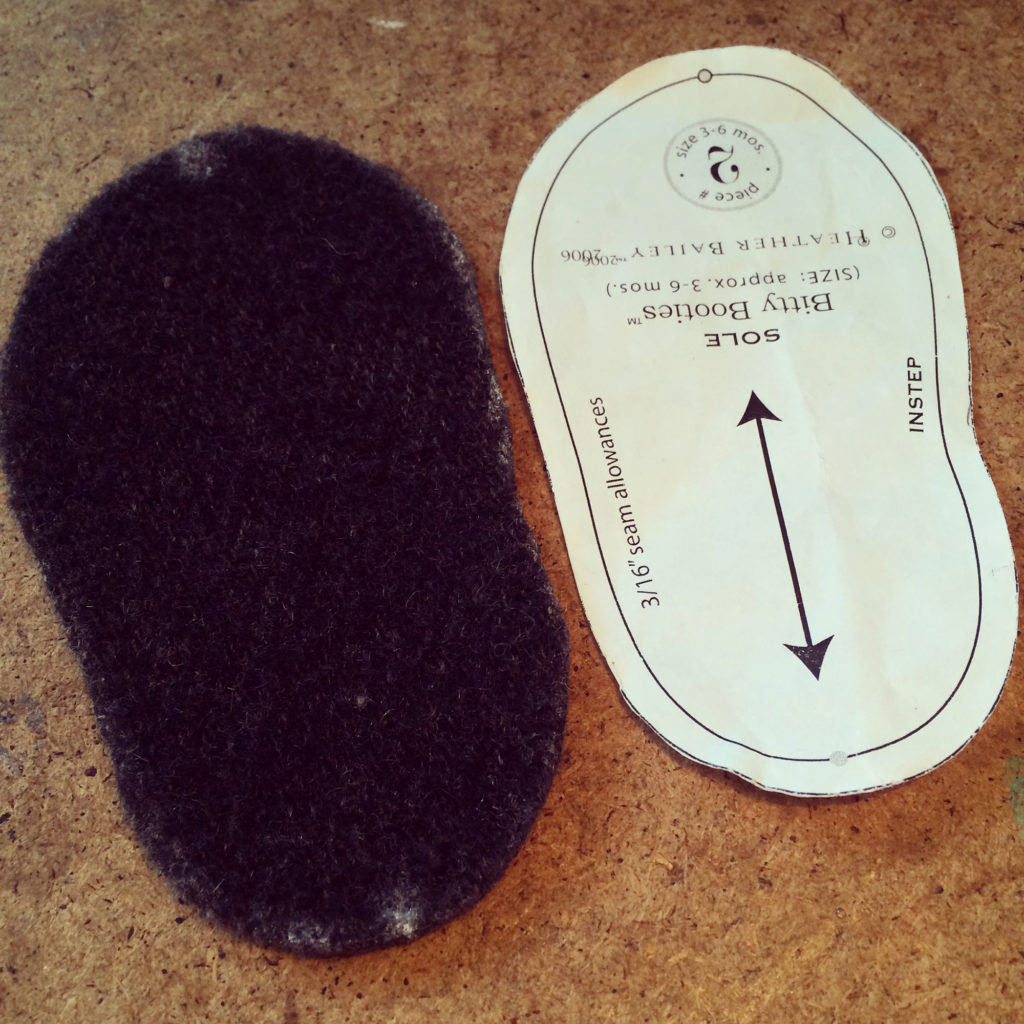
Download the Bitty Booties pattern and cut out the bottom and top pieces. You’ll also see my owl pattern I’ll be using for the accent.
Trace the pattern for the bottom and top. You’ll need to flip over the bottom piece so one is for the right and one is for the left. And you’ll see – one wool sweater can make tons of baby booties!
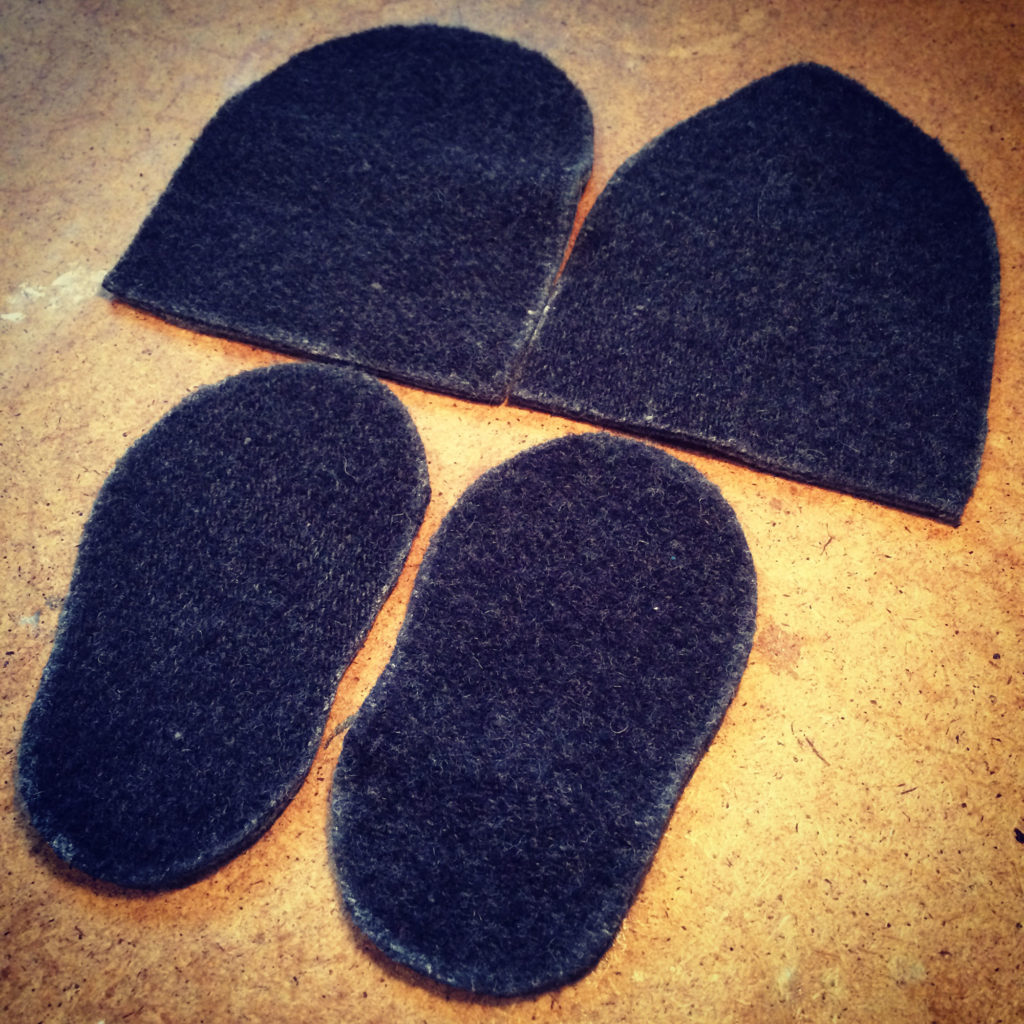
Here are the bottom and top pieces ready to go.
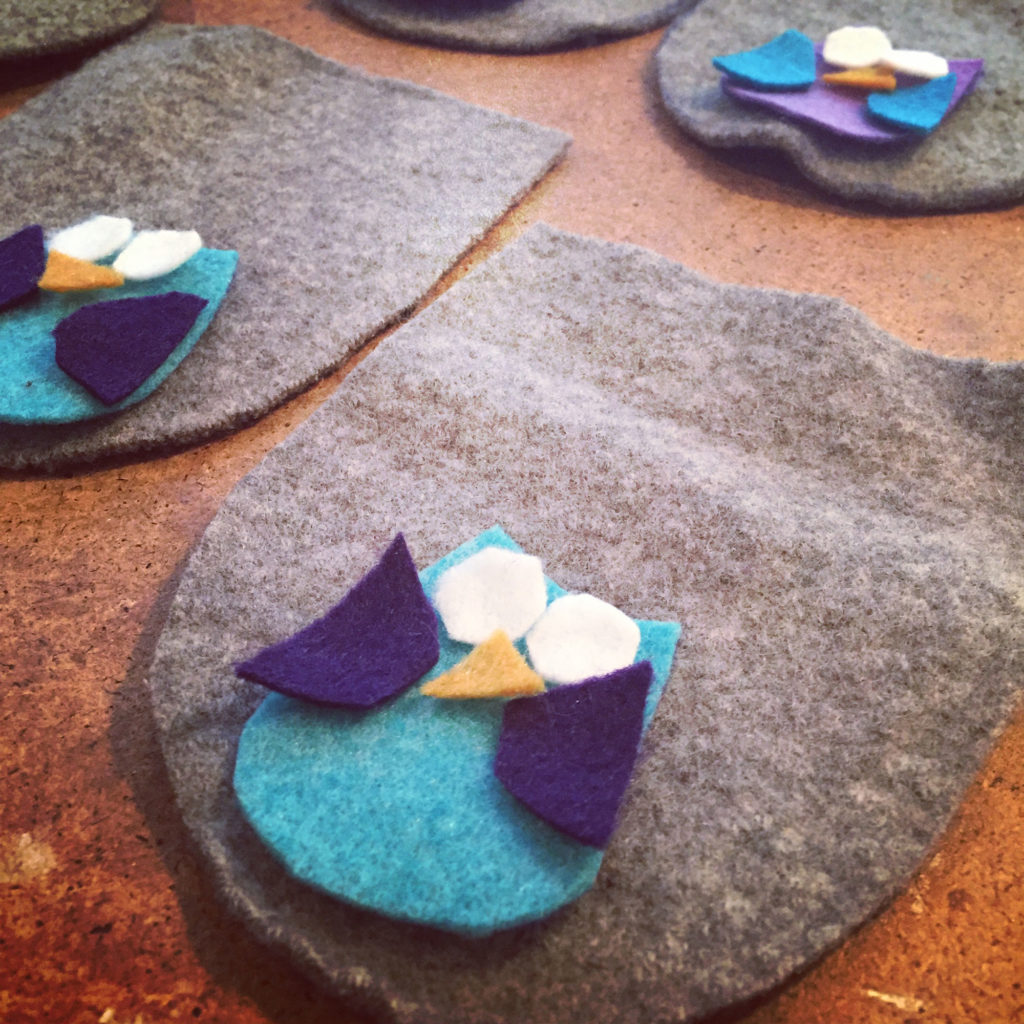
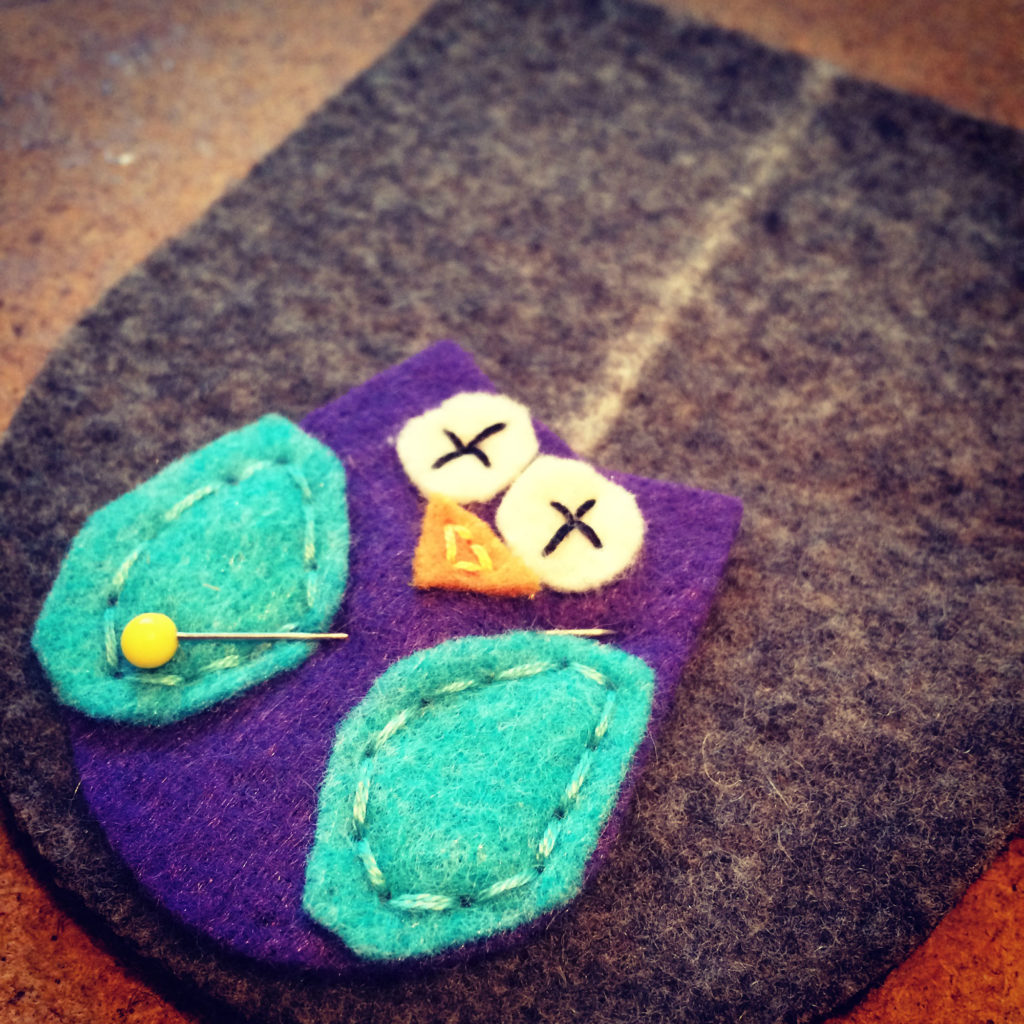
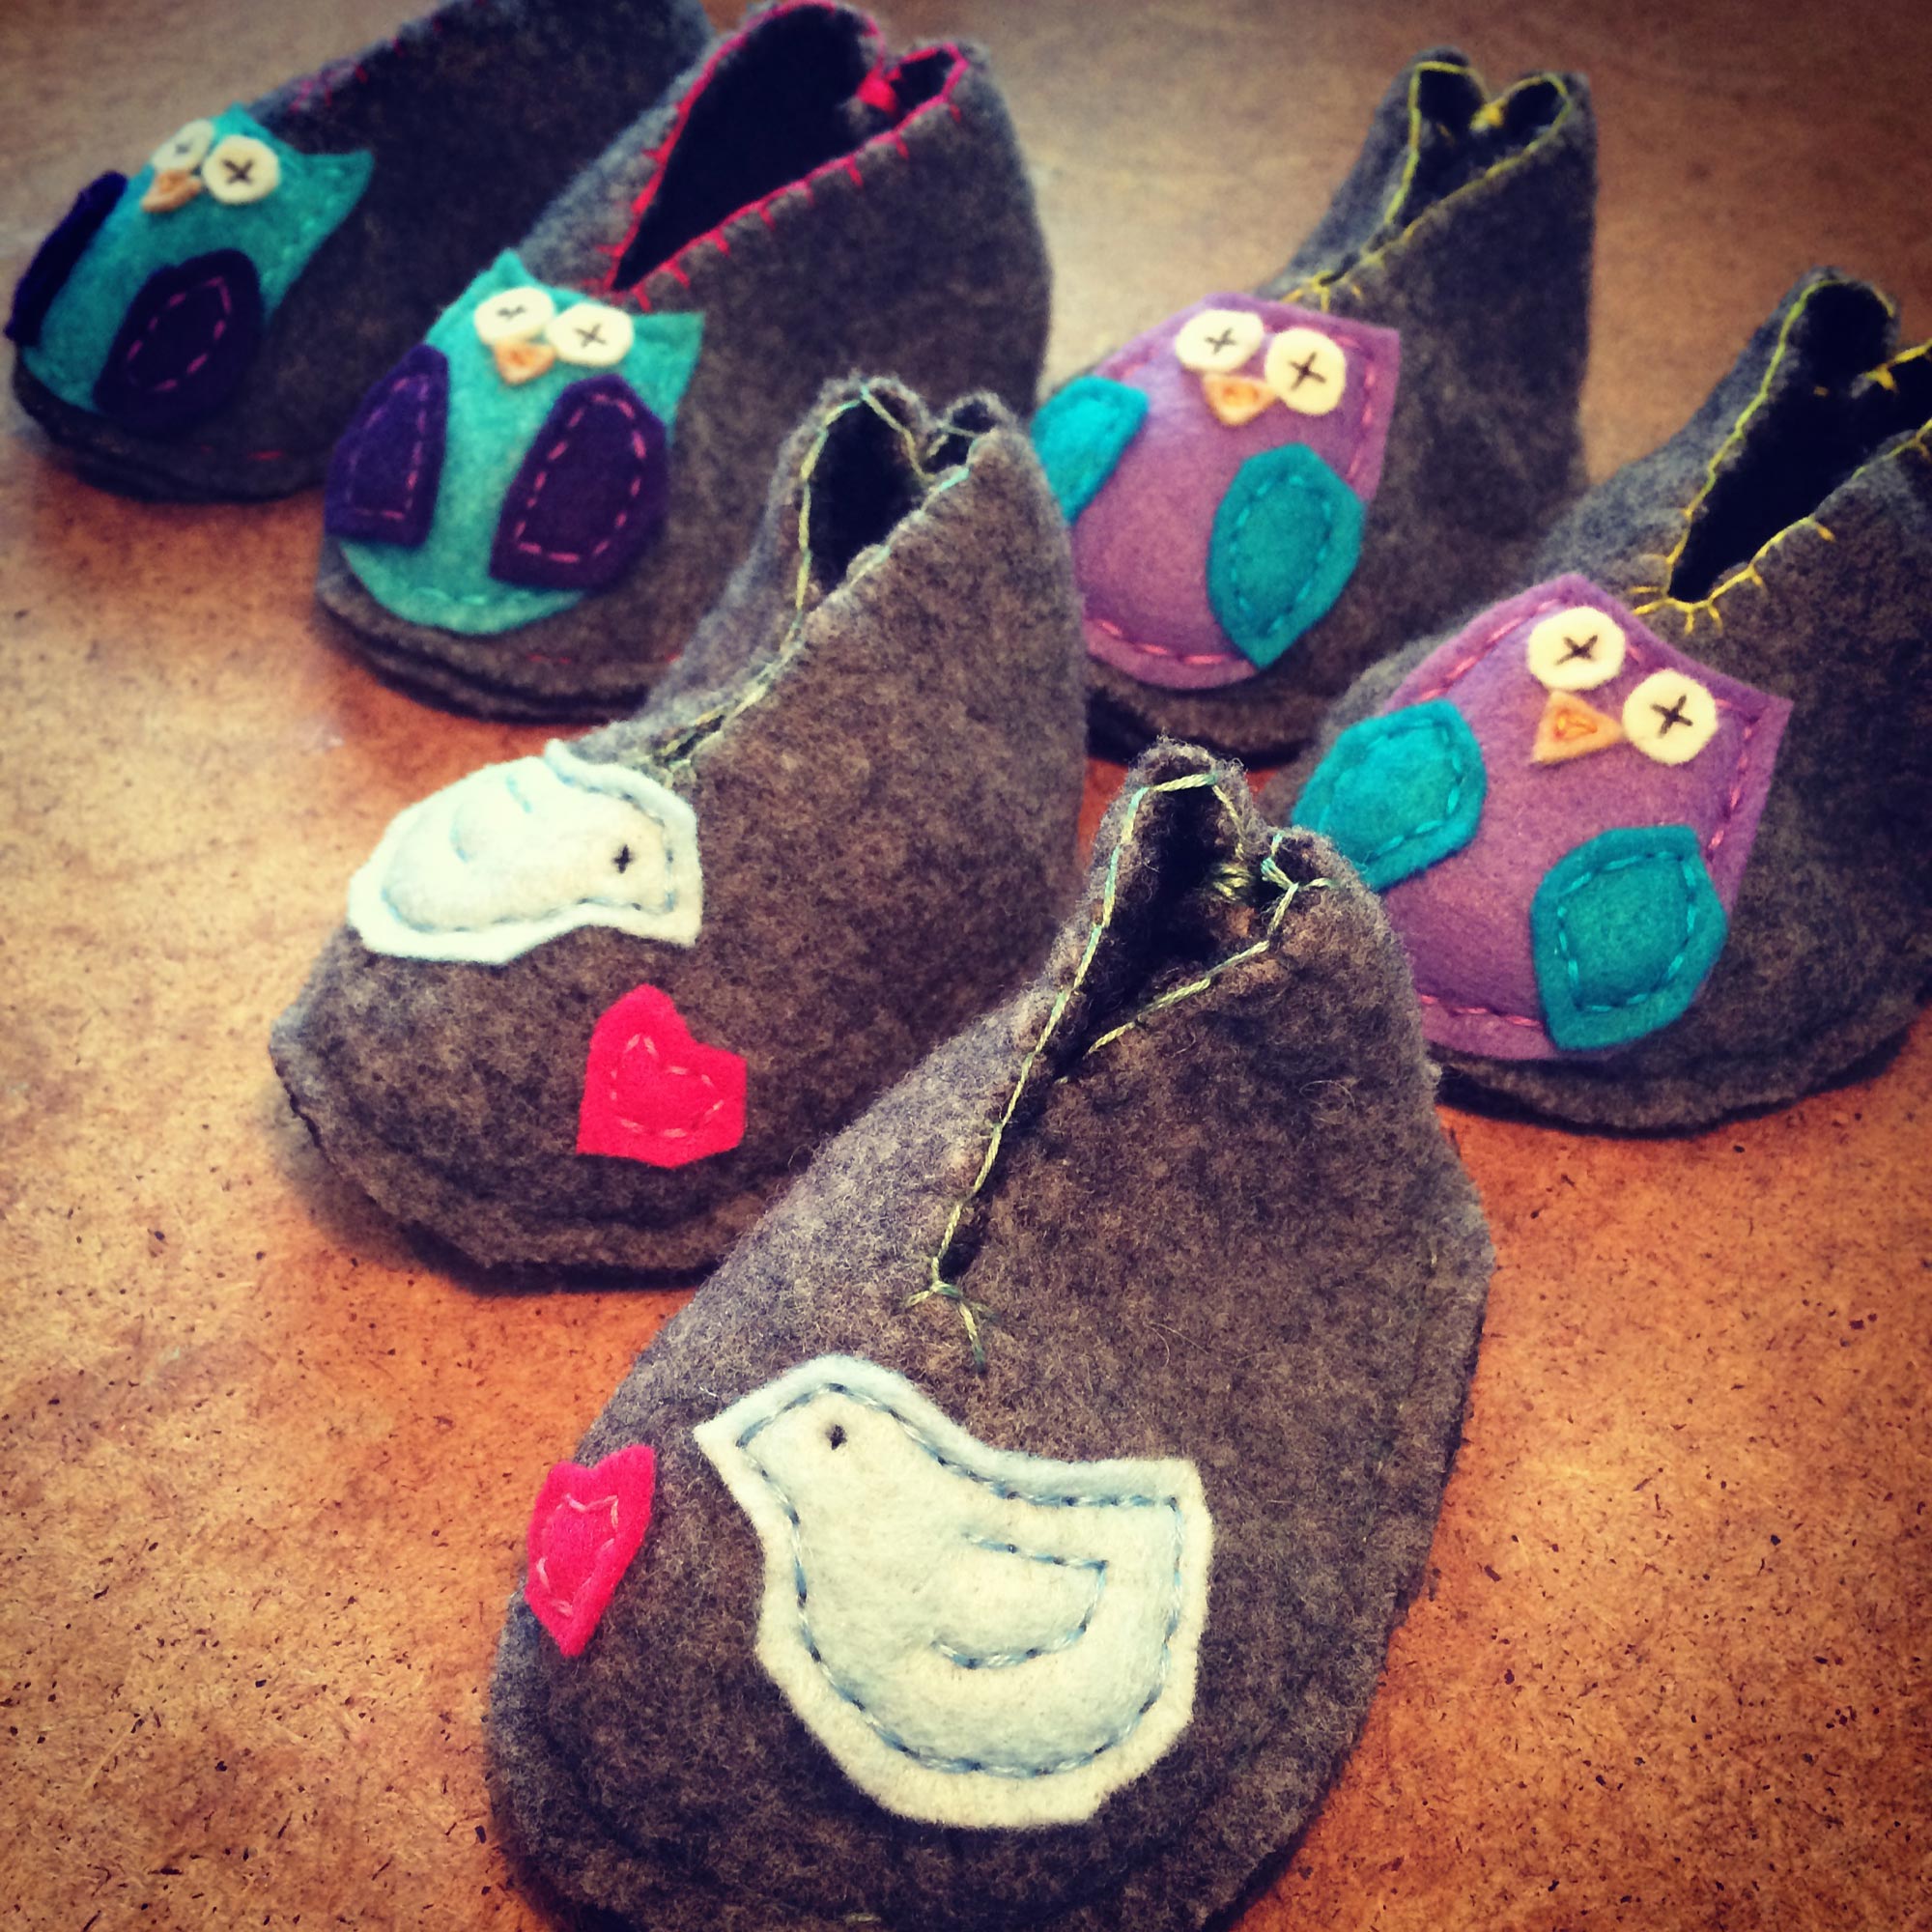
Prep the felt appliqué accent for your booties. I usually use a grey base then add a super colourful accent. Here are the beginnings of my owl.
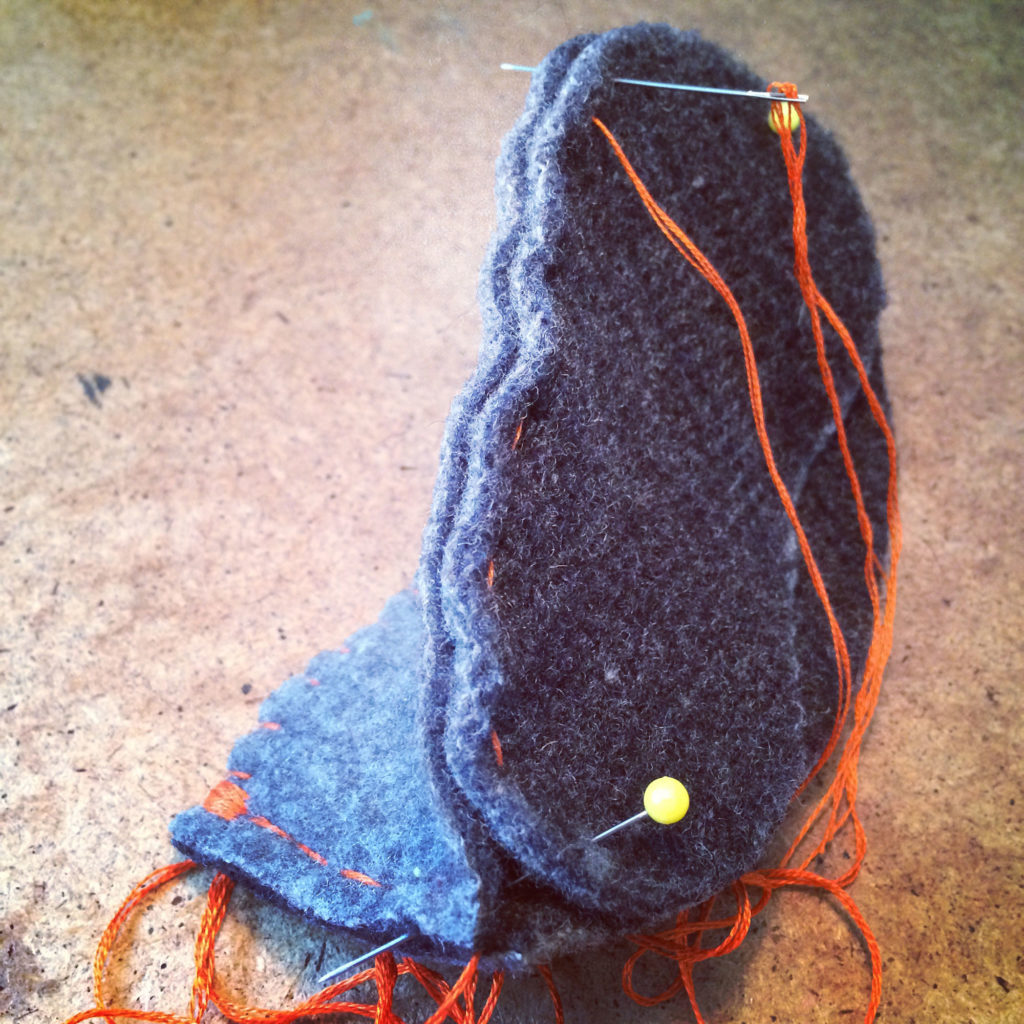
I stitched my owl together except for the edges. Next I pinned the owl to the toes of my bootie then stitched it onto the wool around the edges of the owl.
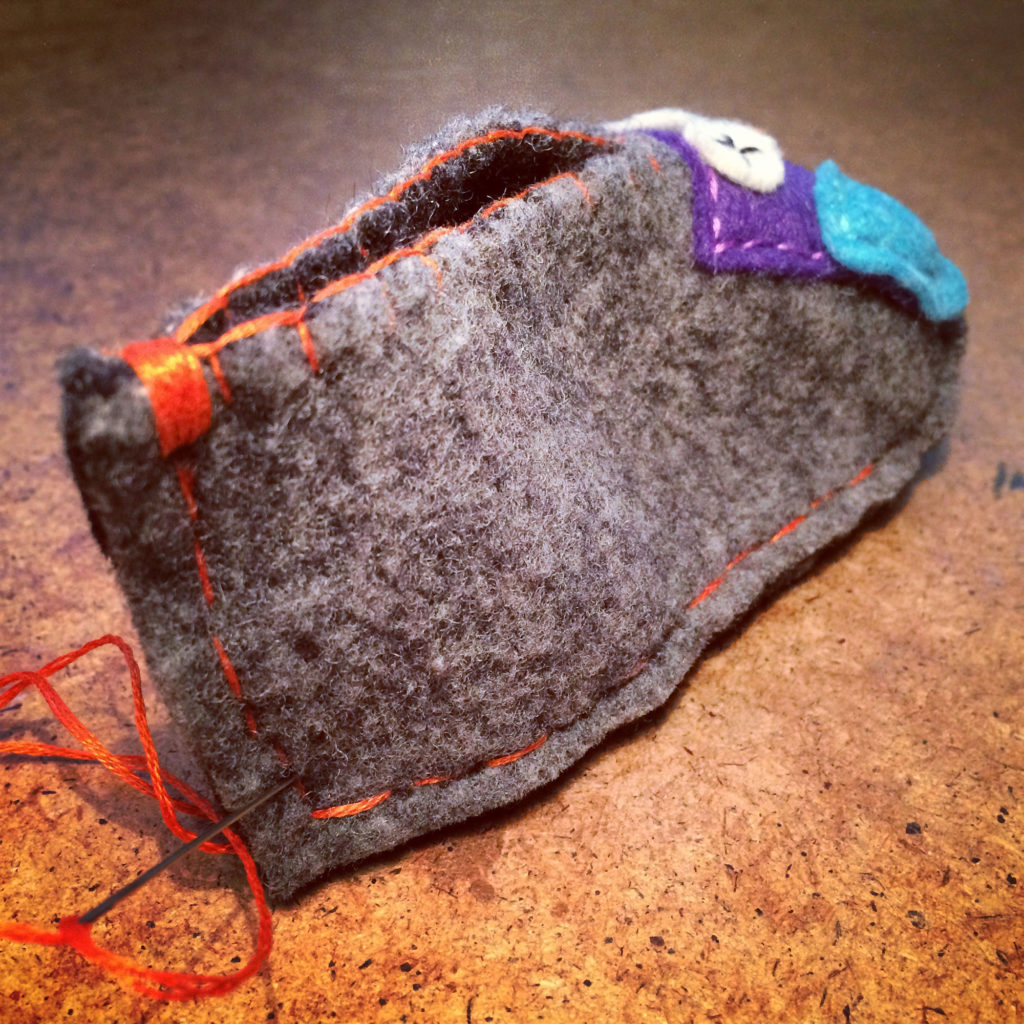
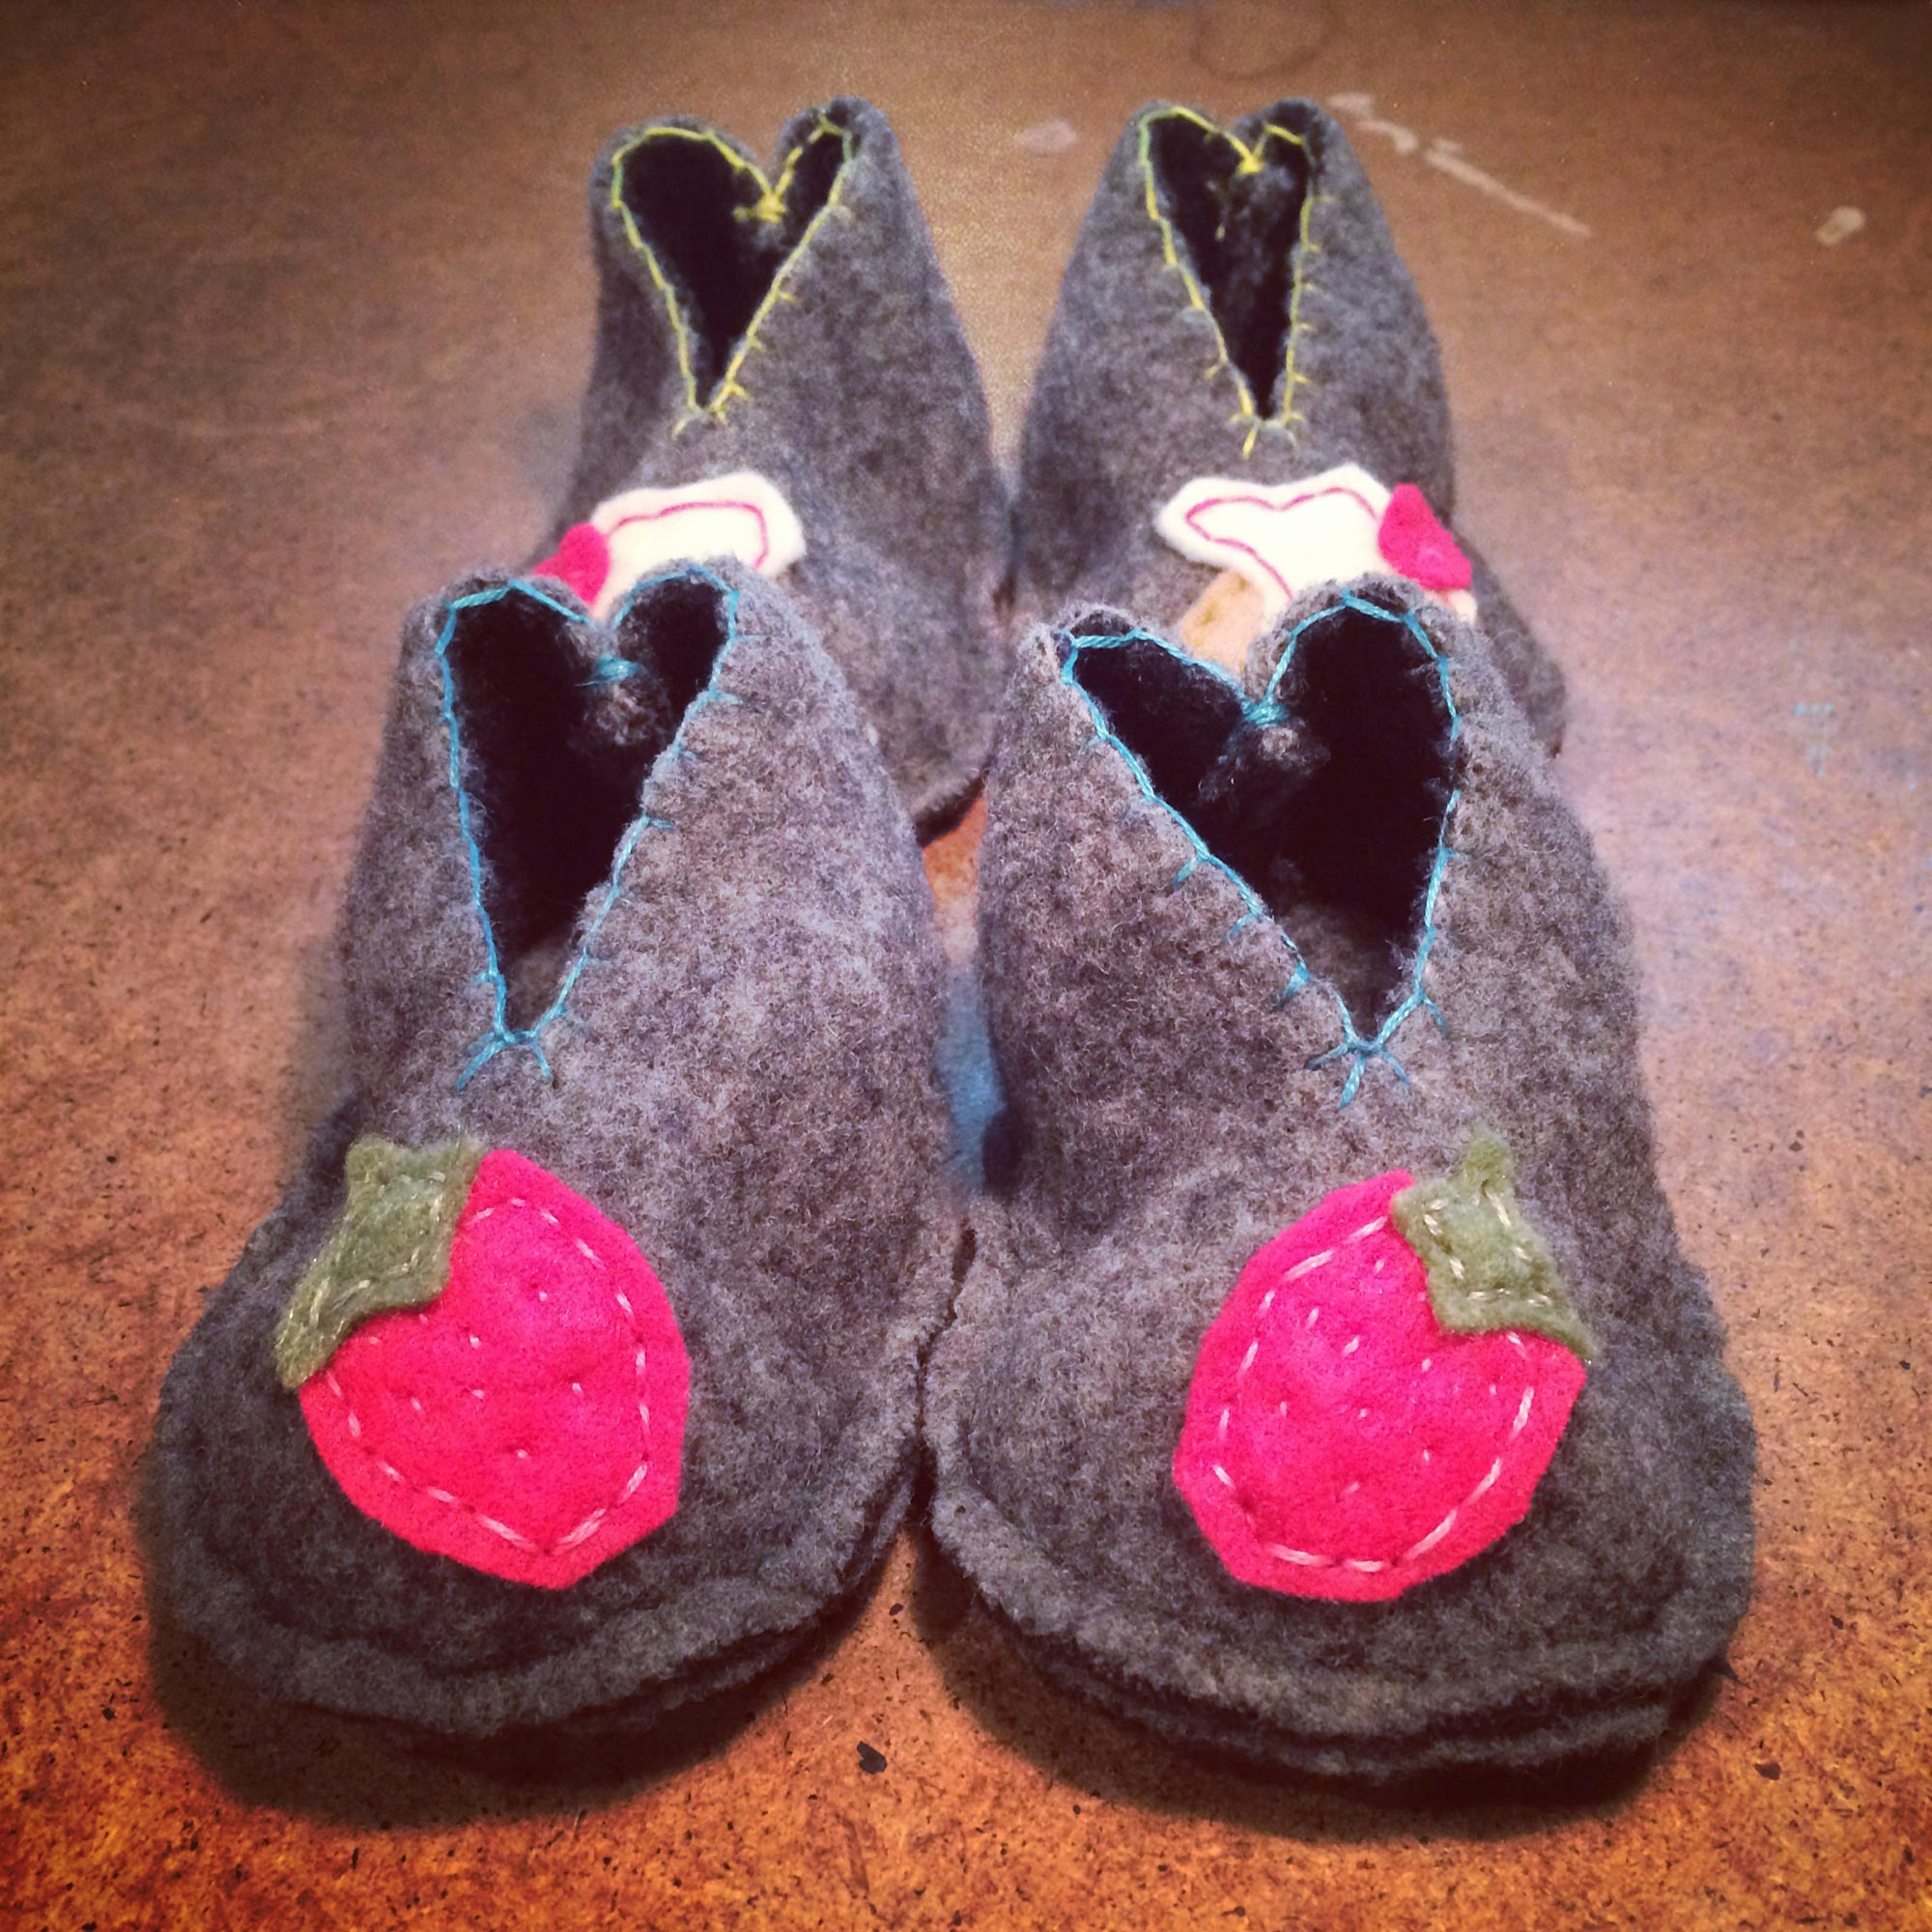
Now I cut along the middle of the top following the instructions from the Bitty Booties pattern. I then used bright embroidery felt to buttonhole stitch along the opening.
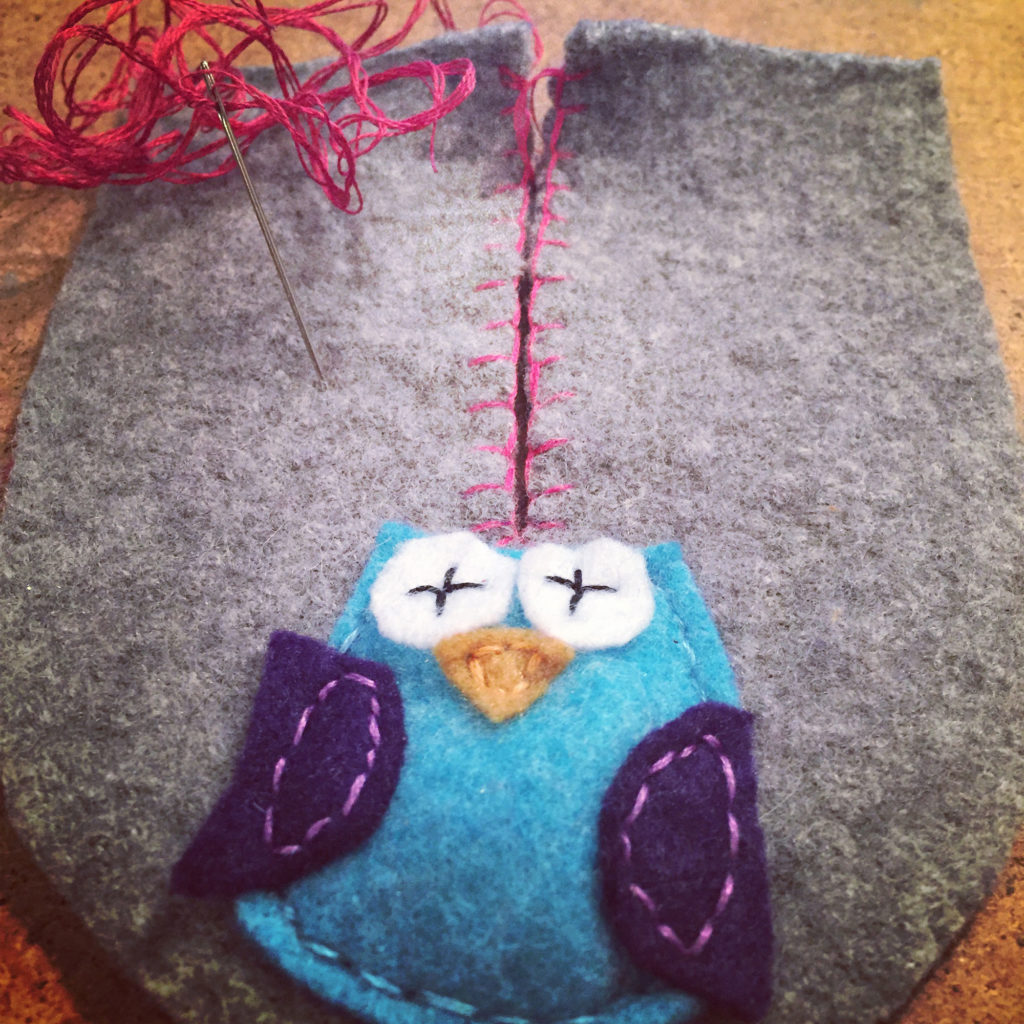
Once I’ve stitched around the opening then I stitch together the back. You can either expose the stitching or hid it – it’s up to you! I love making sure my pieces look handmade so why hide it!
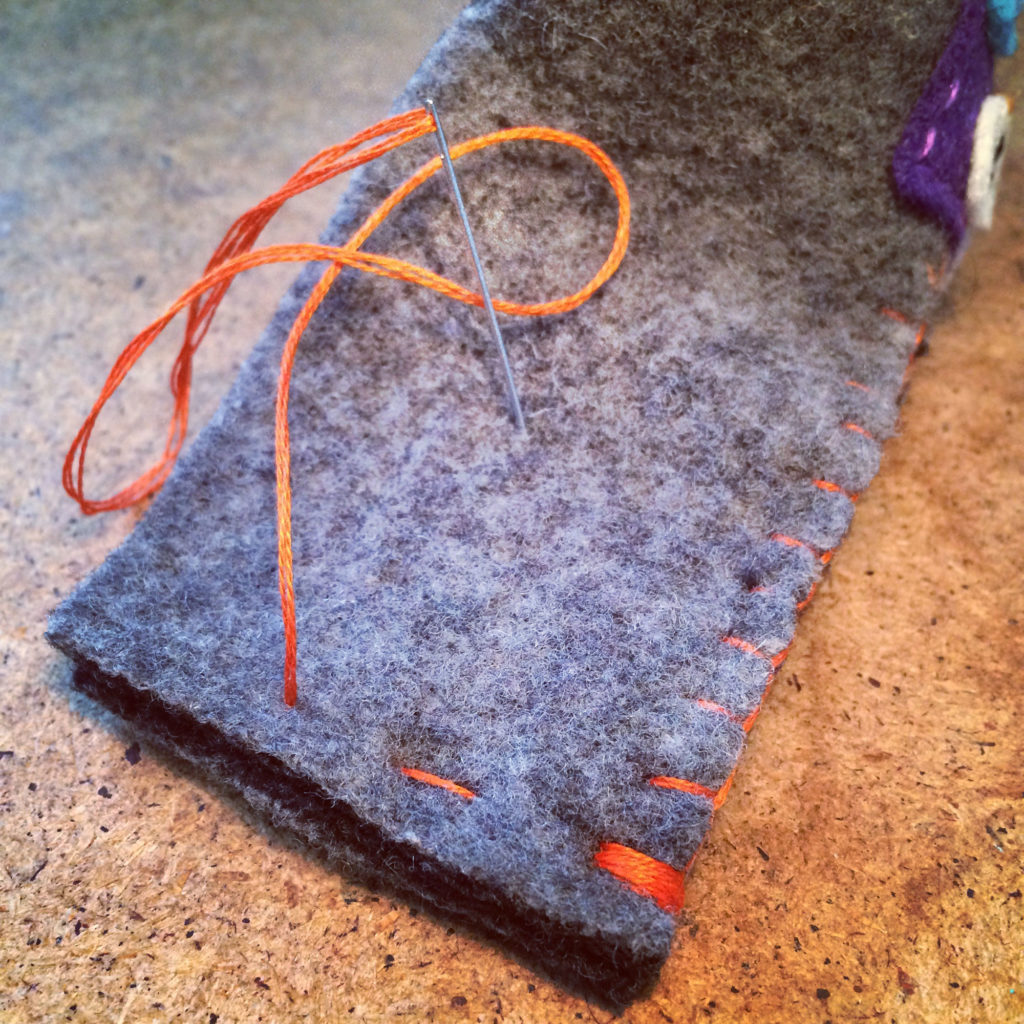
Now you’re ready to add the bottom. I use chalk to mark where the front and back of the top should line up with the bottom.
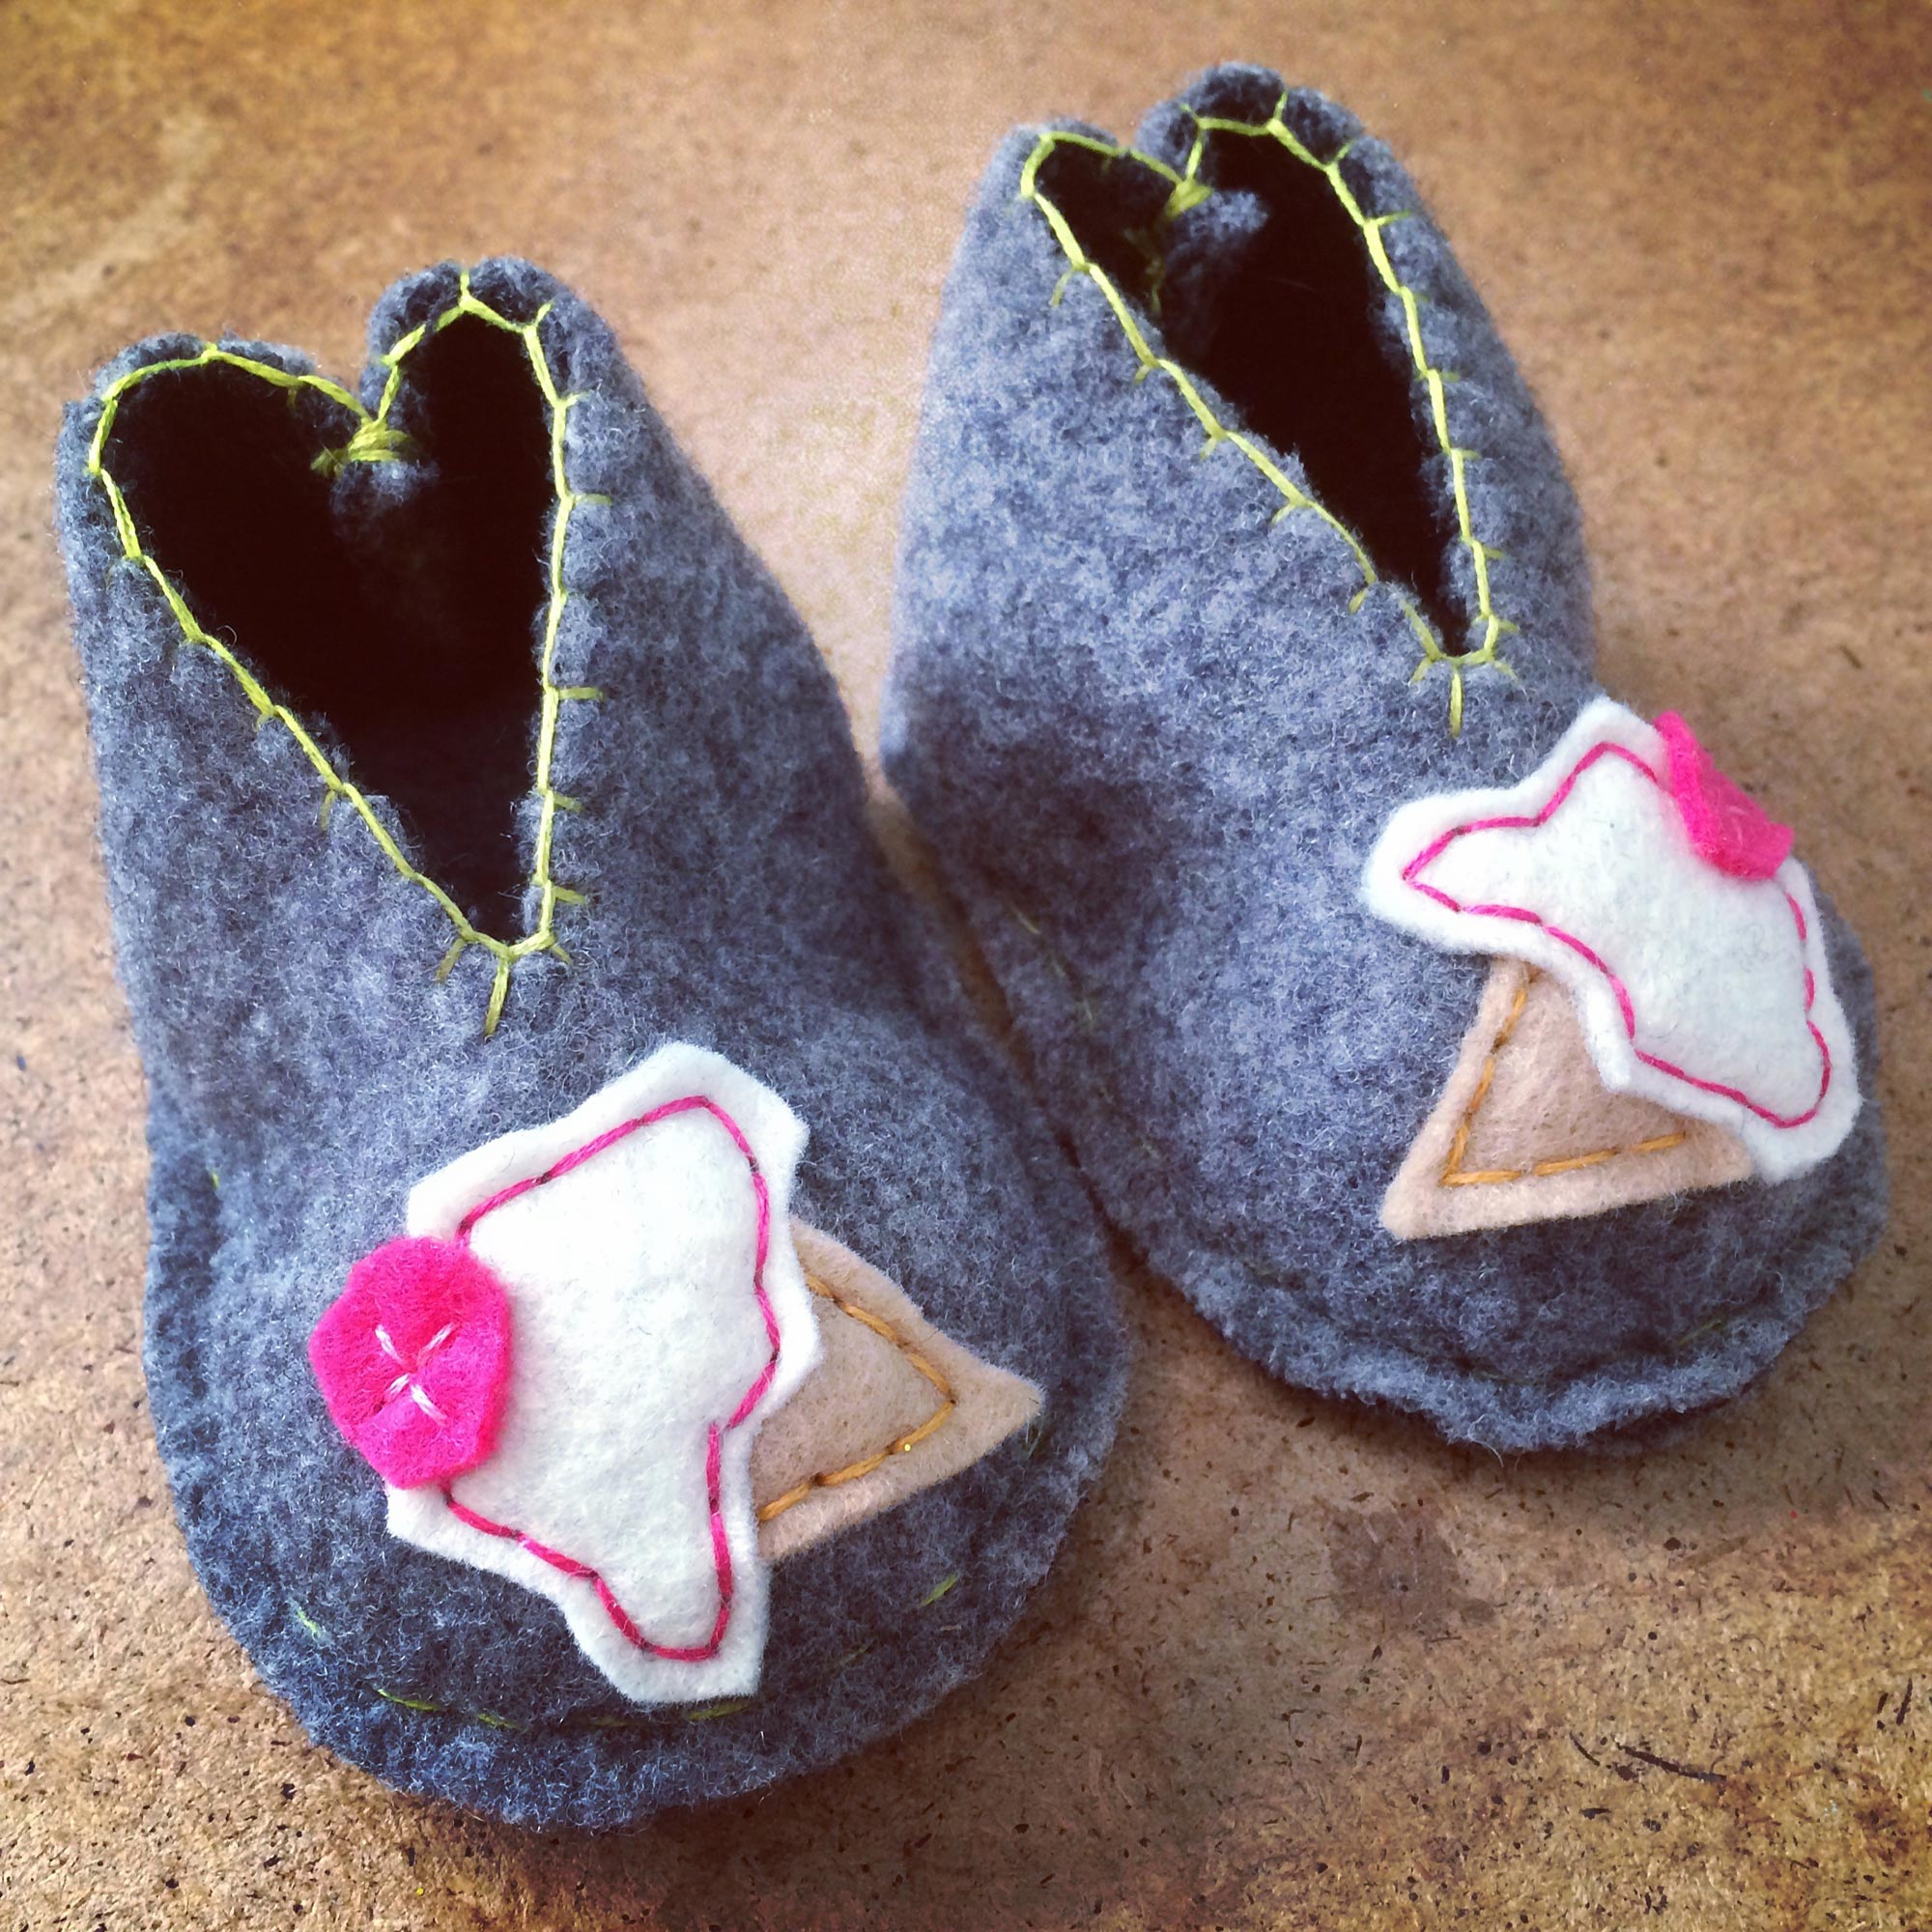
Pin the bottom and top together then stitch them together. I use a running stitch for this step. Again feel free to either expose the edges of the wool or hide them.
Tie off the end of the embroidery thread and you’re done.
As you can see I’ve made TONS of these.
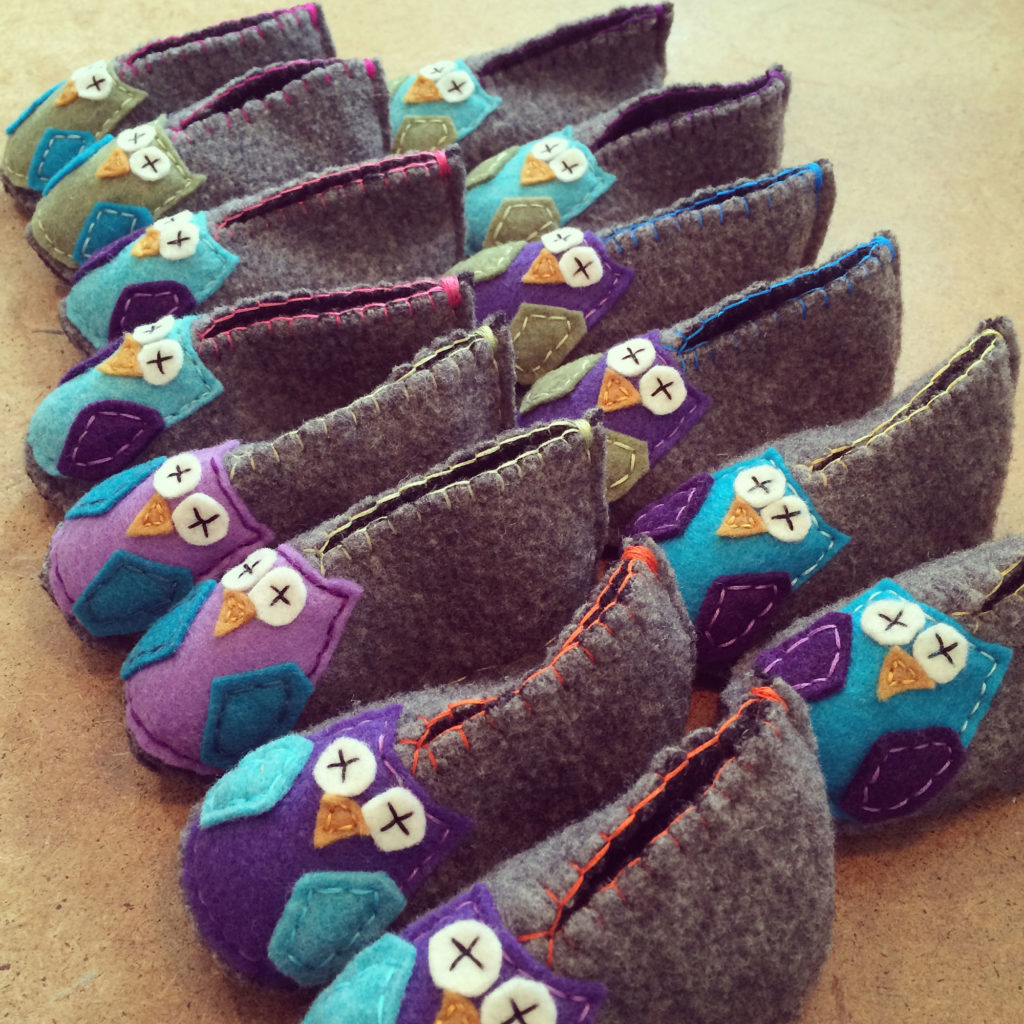
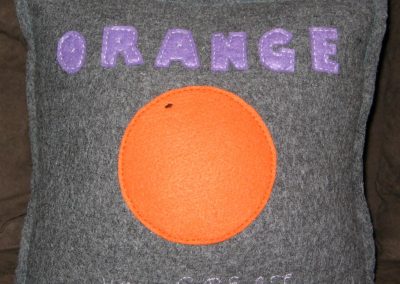
I always gift them to friends with new babies. They’re fun and eye catching. You can always modify this DIY and make gift card holders, pillow covers or even Xmas stockings! I made this one for a friend’s dog. There’s no limit to what funkiness you can create with a worn wool sweater.

Get in Touch
Say hello . . . 604.354.5811
Drop me a line . . . denise@craftingwithcrap.com
Find me at . . . www.denisecorcoran.com
Crafty adventures via . . . www.thriftybydesign.ca
News & Events
Keep up to date at . . . www.instagram.com/deniseccorcoran