DIY: Framed print
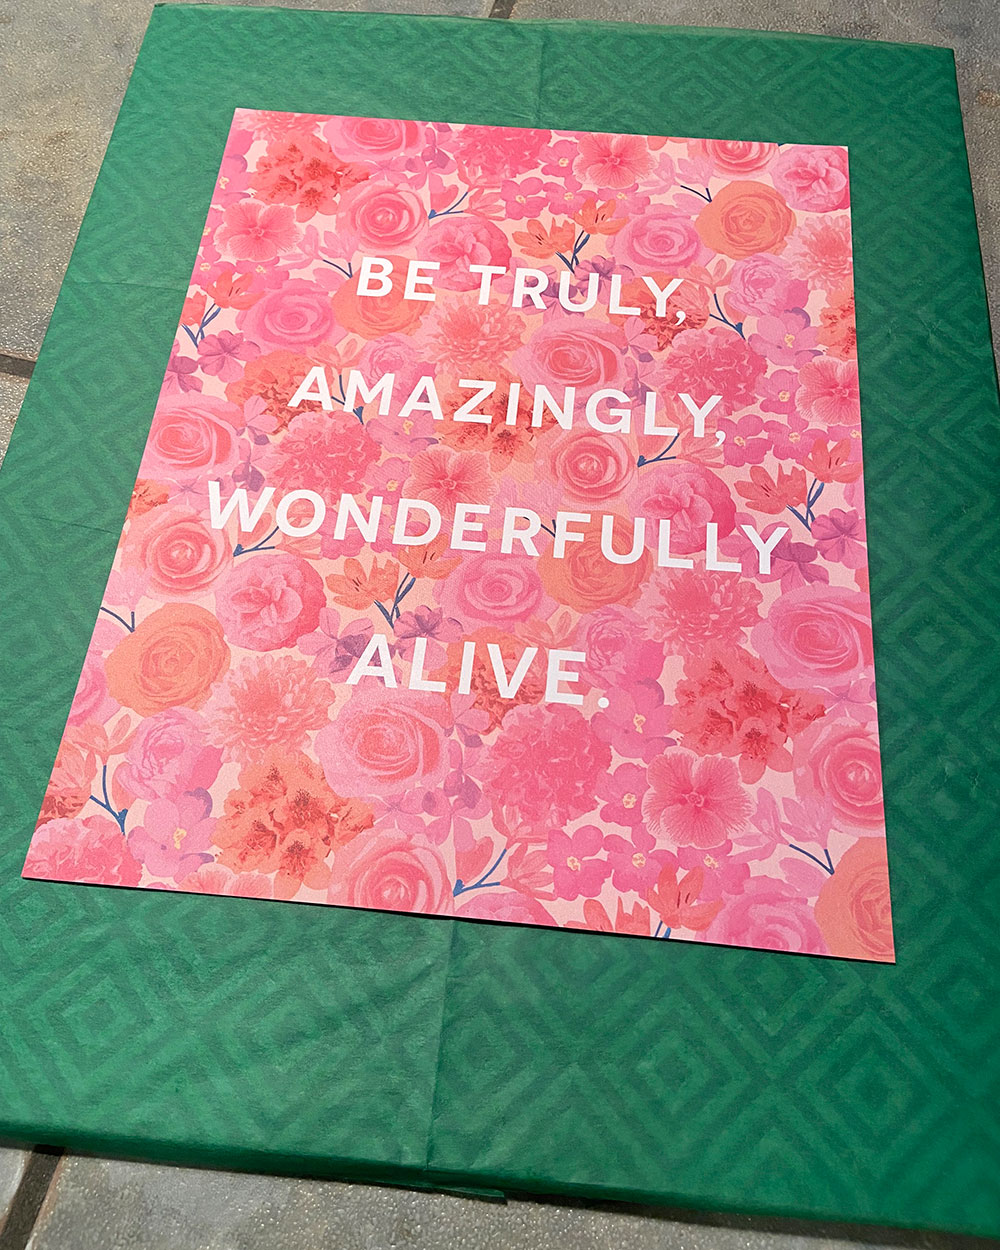
I am a sucker for a lovely, thrifted frame. Definitely one of those items I never buy new since there’s always so much choice at your local thrift store. One of my recent DIYs involved an inspirational printed quote I found at my neighbourhood stationery store. Combining the two finds made for an awesome upcycling project!
Supplies:
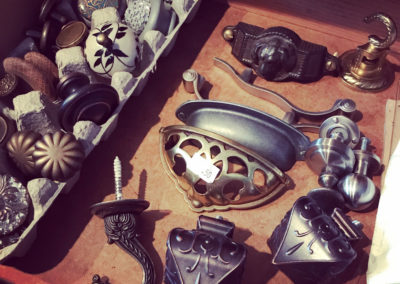
- thrifted frame
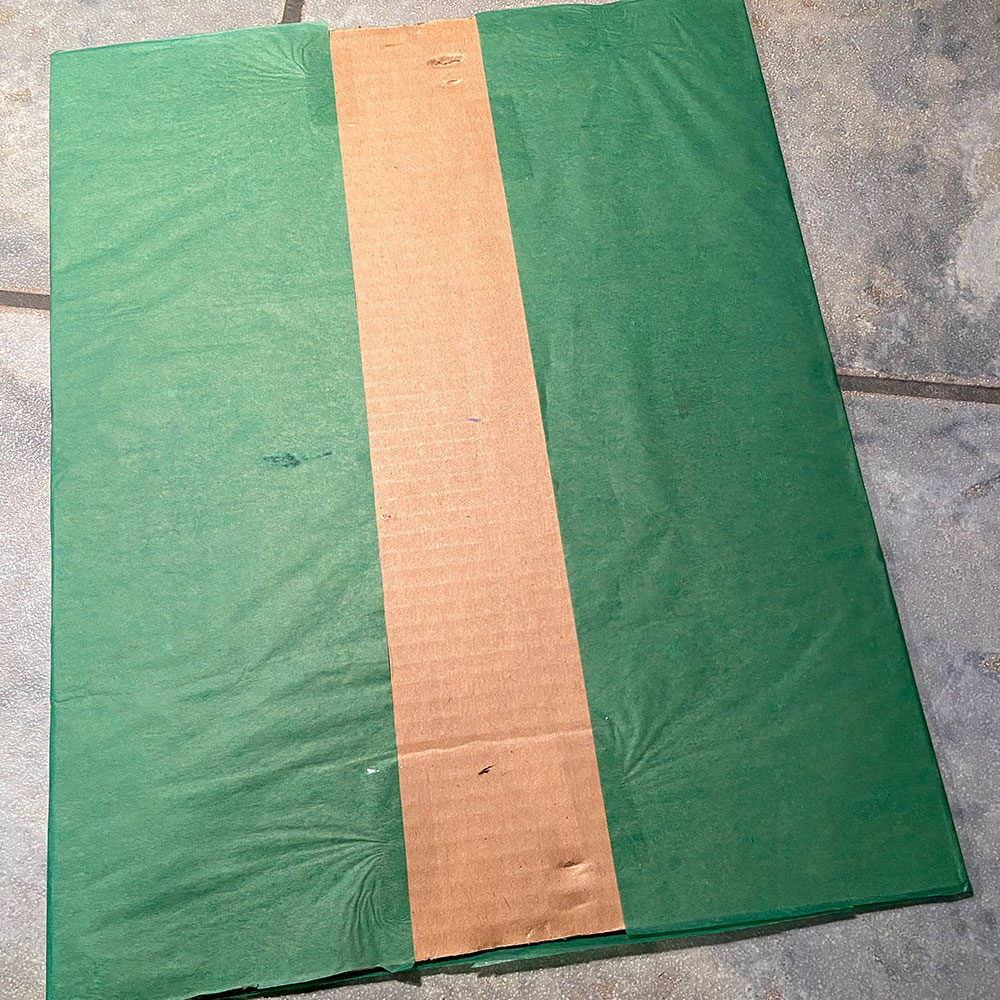
- cardboard
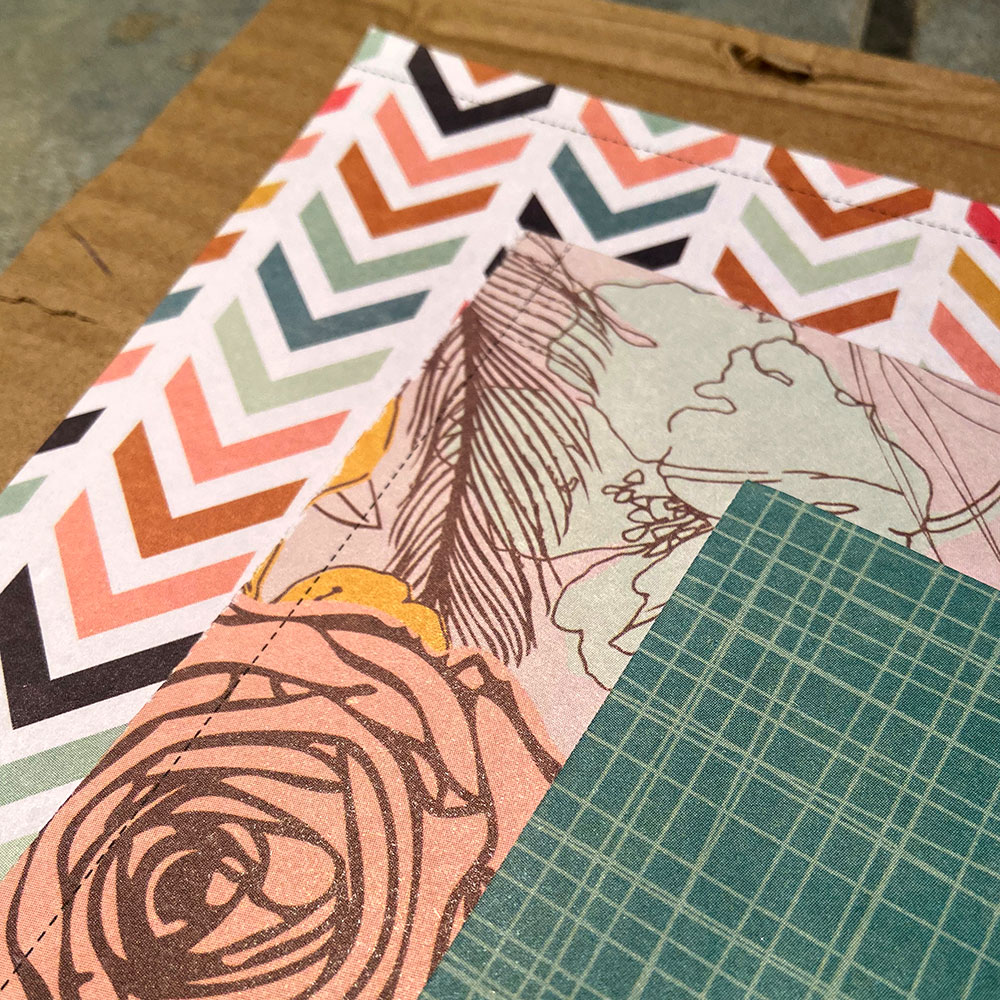
- patterned paper
- tissue paper (optional)
- scissors
- tape – regular or double-sided
- white glue (optional)
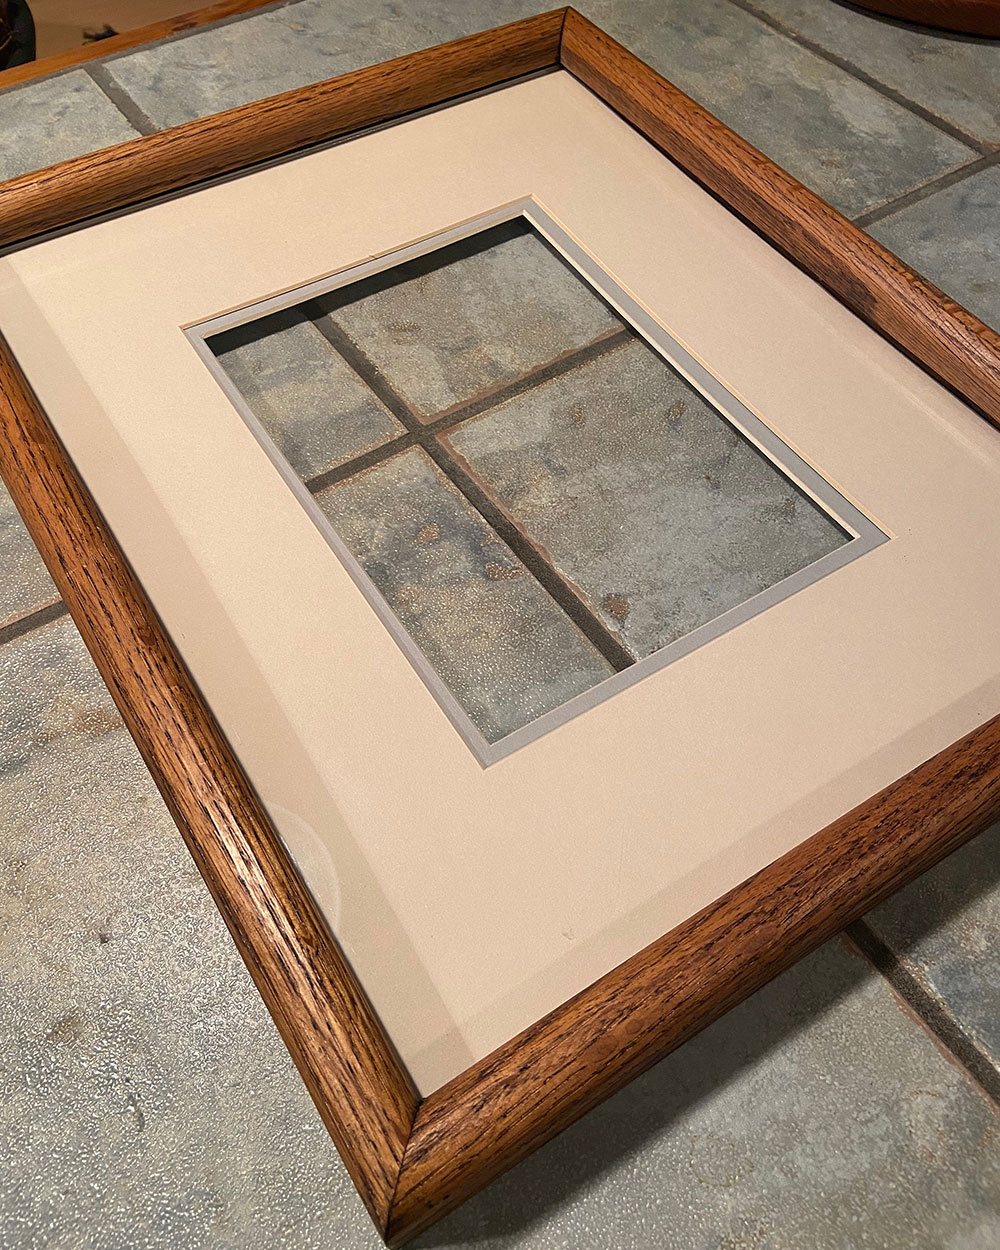
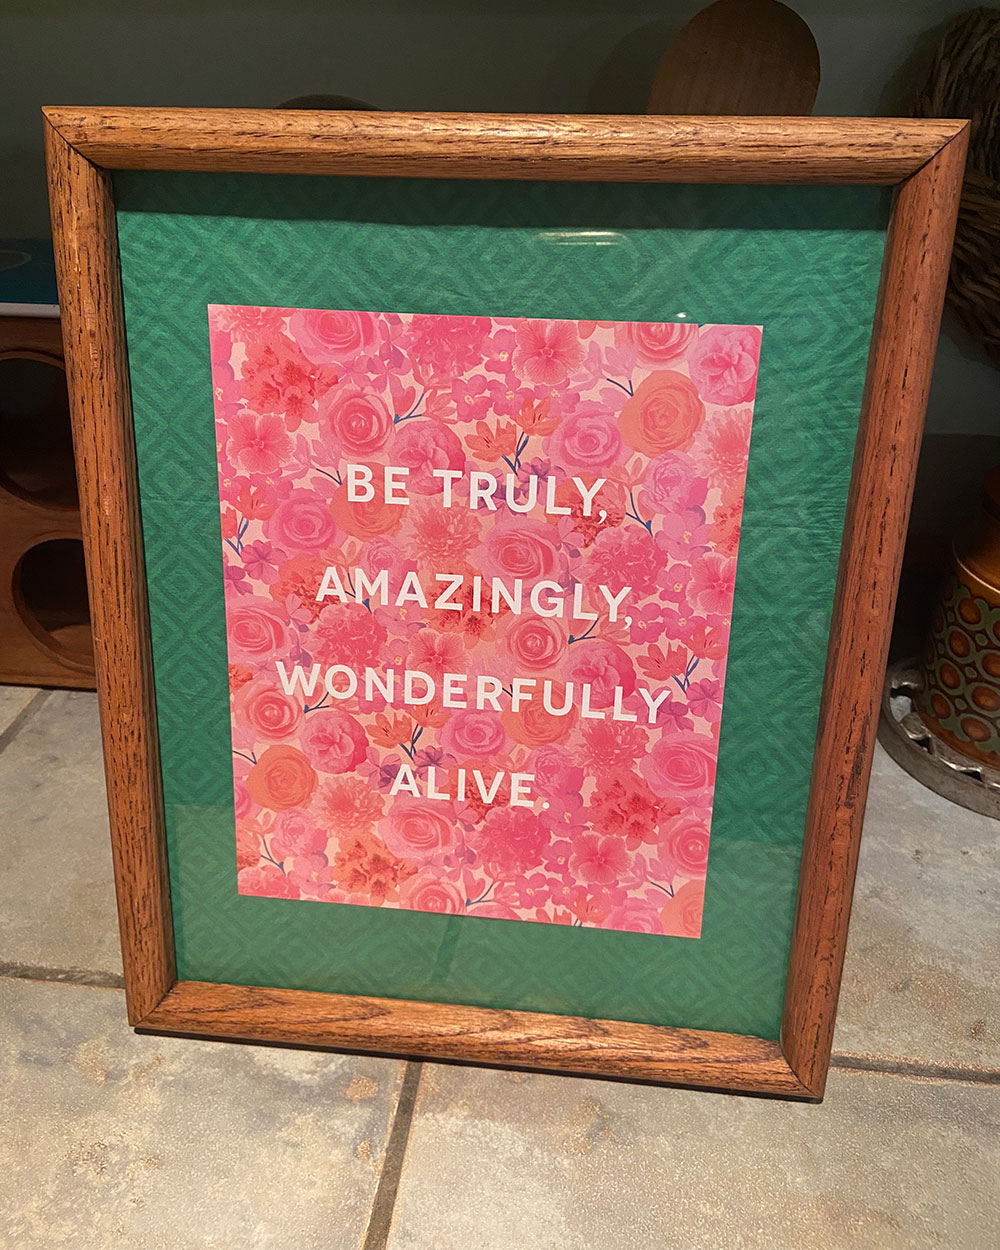
Source a frame at your local thrift store. I adore a natural wood frame like this one! Next you’ll need to track down the perfect quote to give you inspiration. Usually you can find these in stationery stores for a minimal cost.
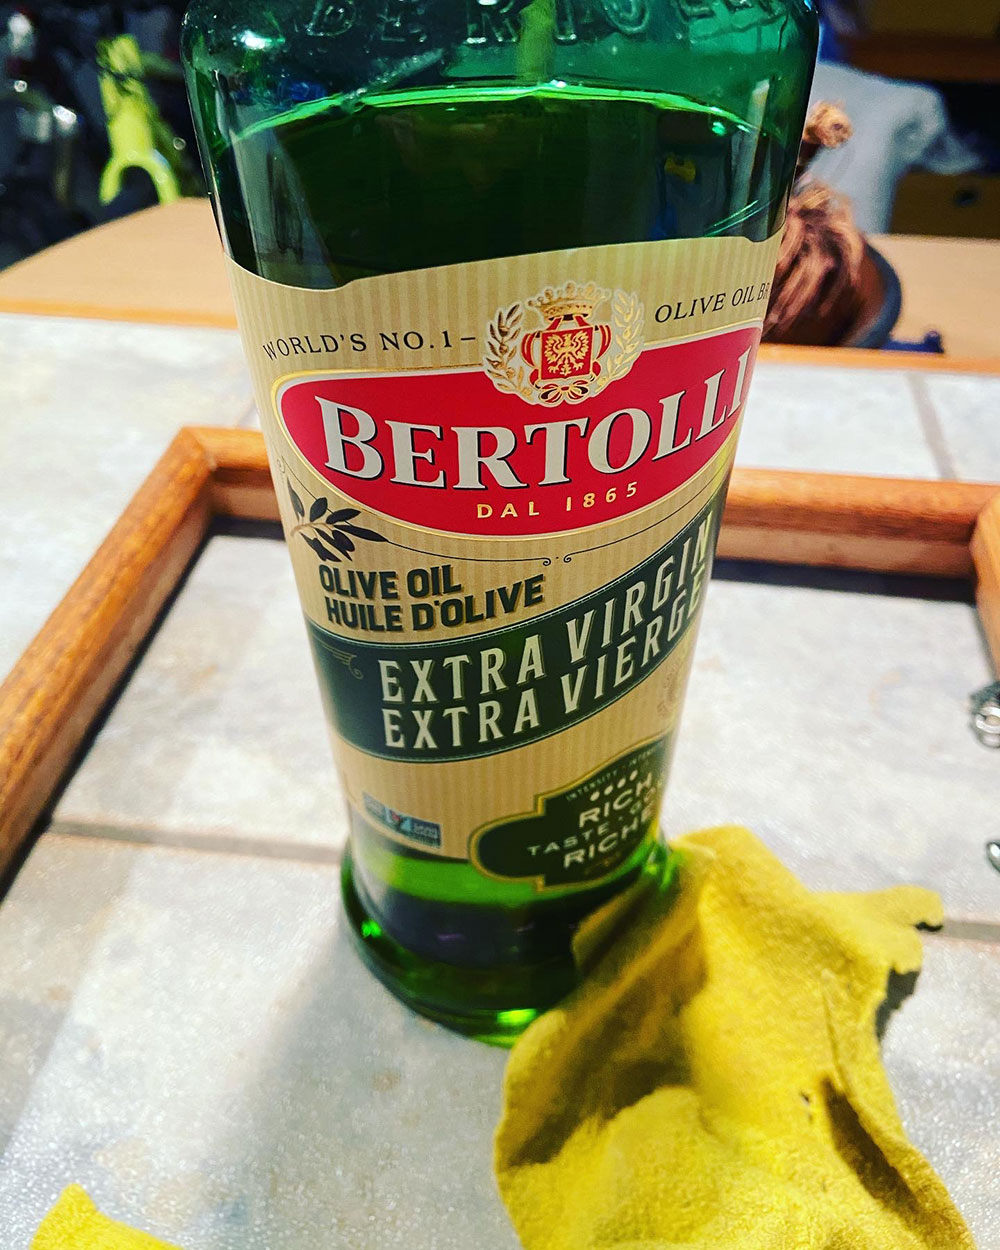
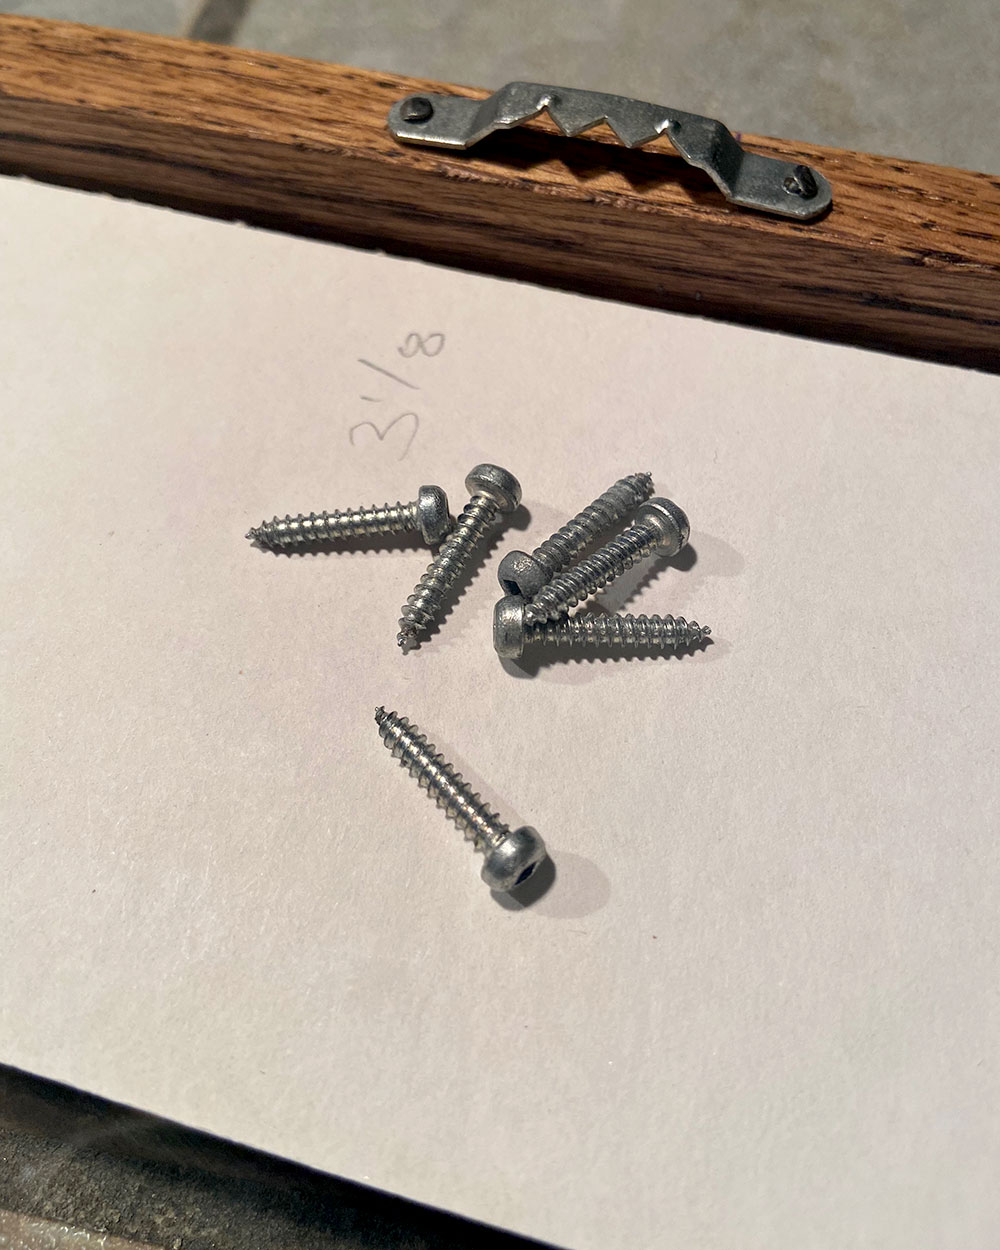
For my wood frame, I sanded it then added a coat of oil. You can use your cooking oil to help give the finish a bit of oomph.
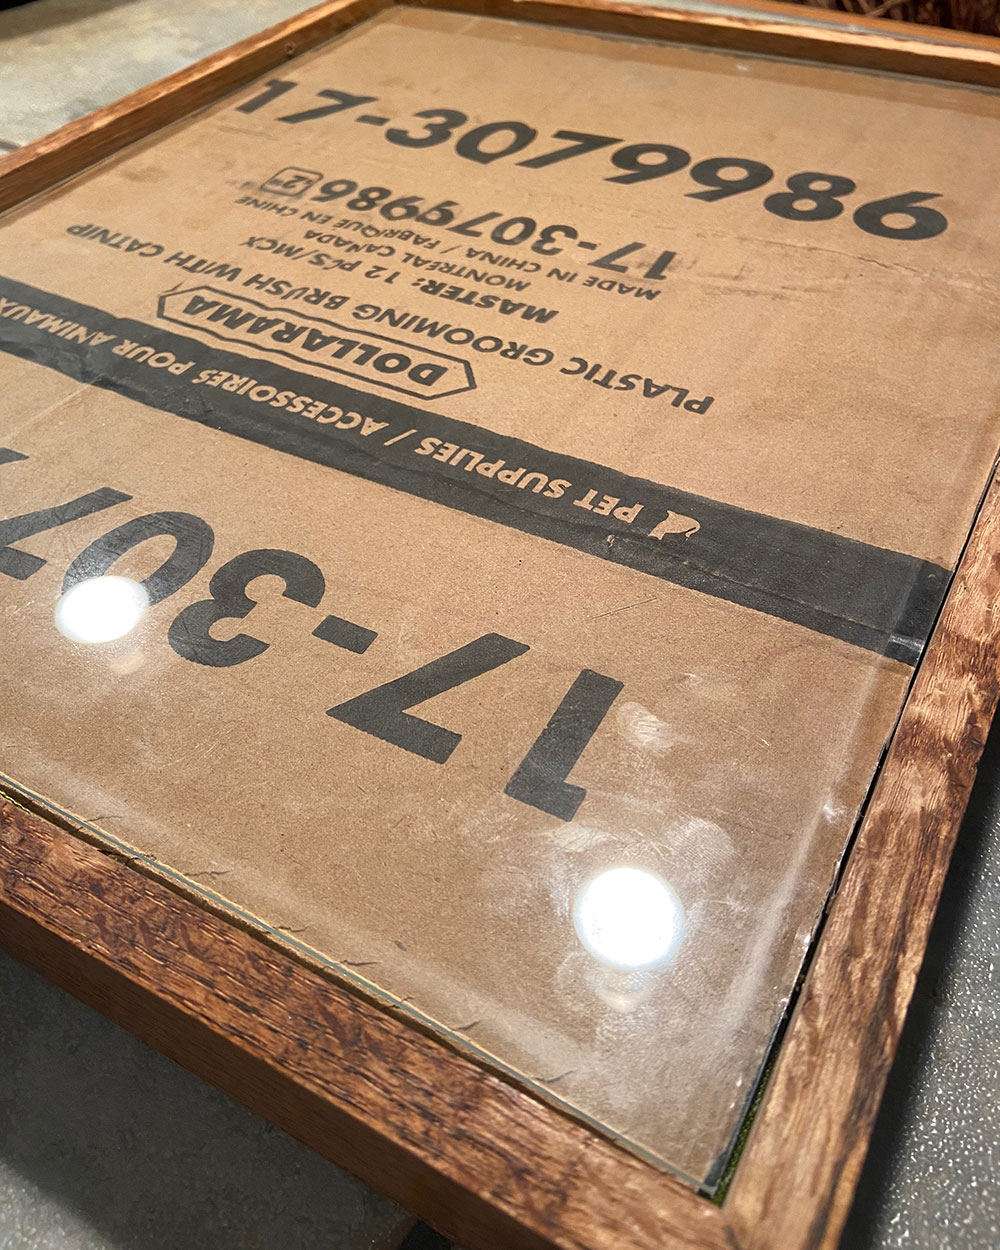
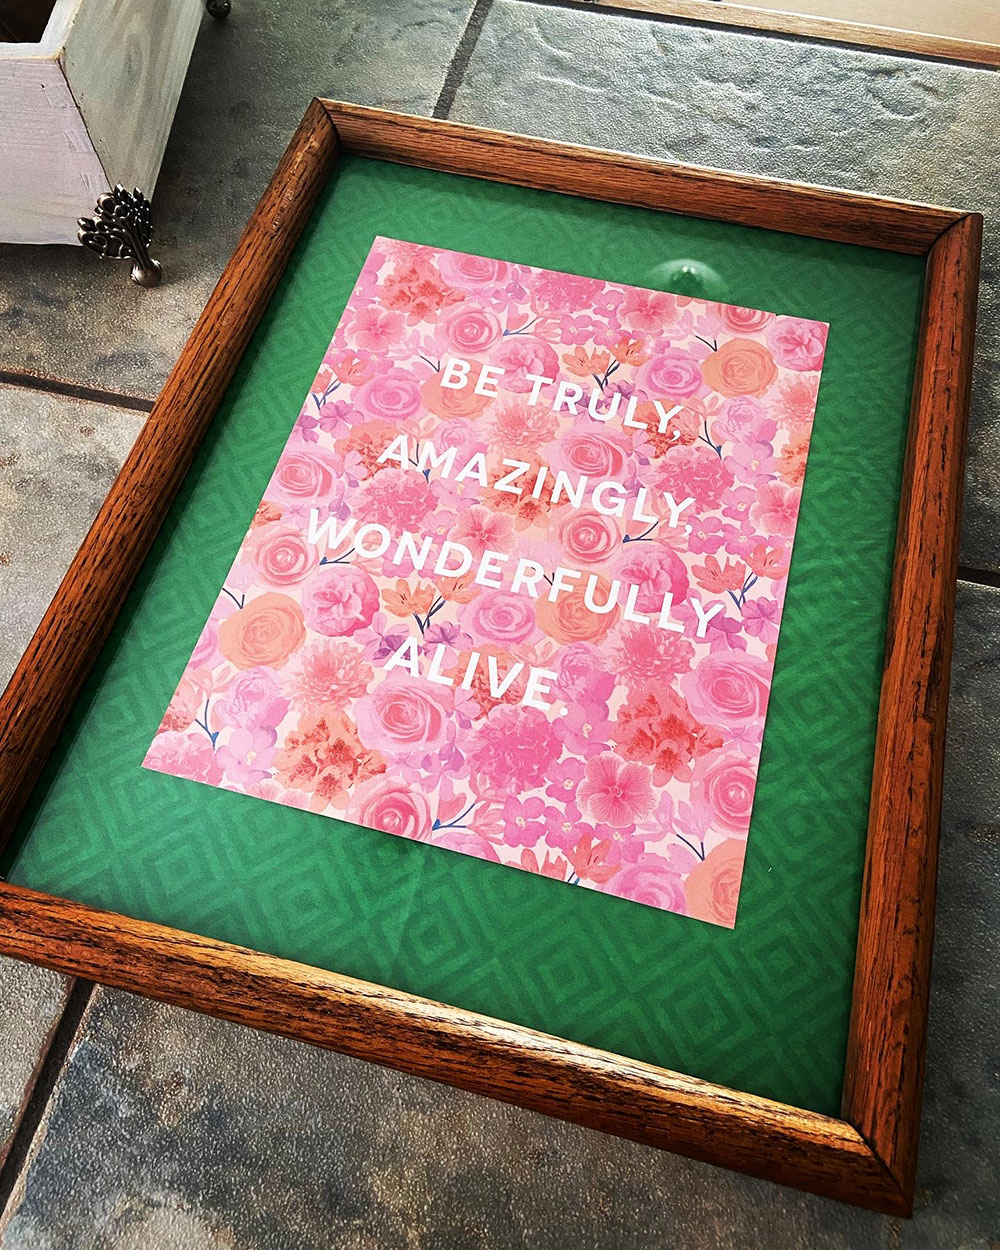
Use tape or white glue to add the patterned paper and tissue paper to the cardboard.
Note: you can always use a stencil and Sharpies or fabric instead of patterned paper. It’s up to you!
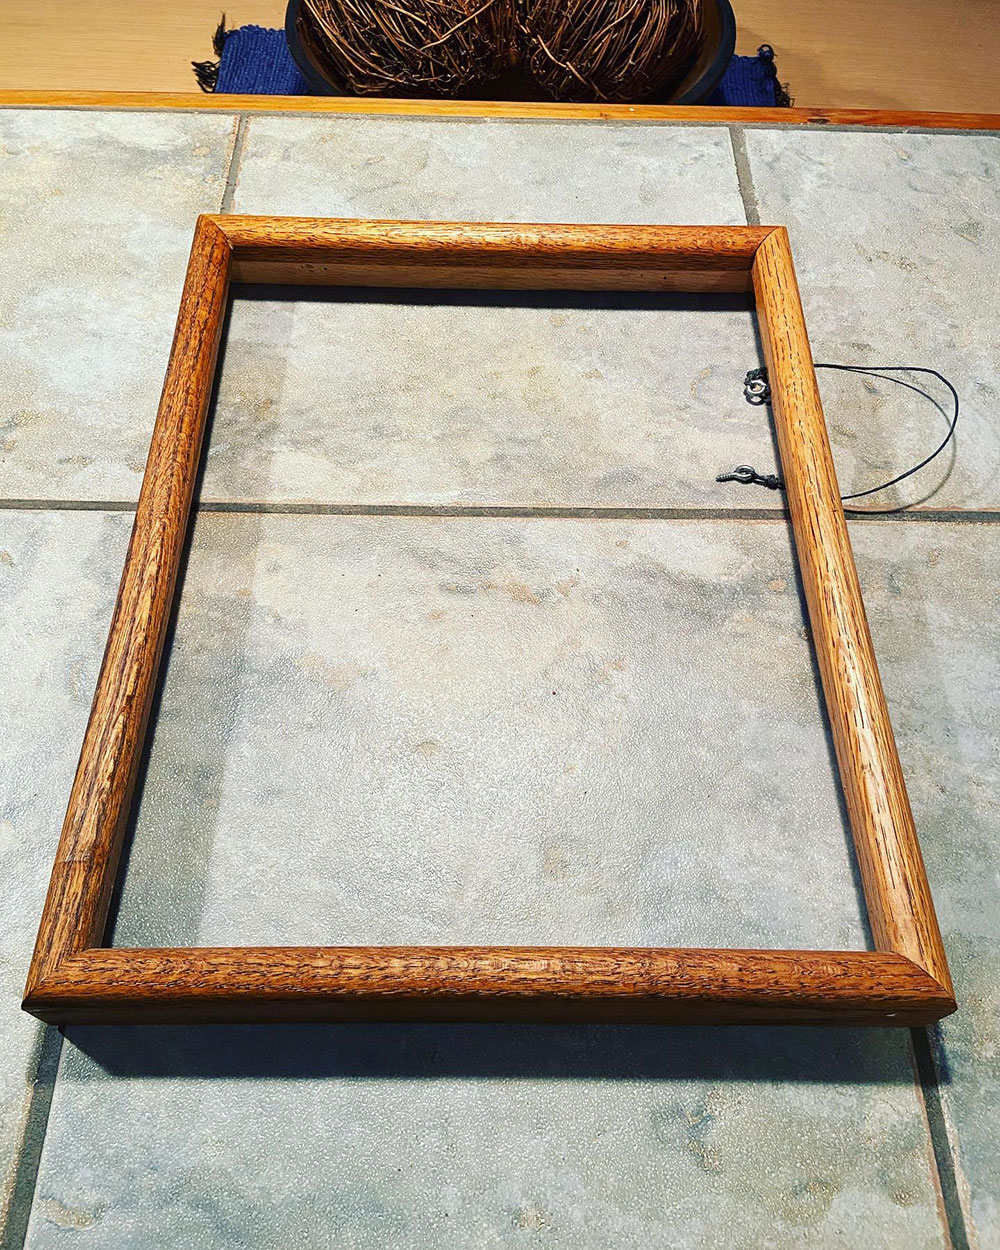
Finally we’re putting it all together. First put the glass back in the frame and wipe the surface. Next insert the cardboard with your print. Now you can add the old inserts just in case you want to reuse them. Lastly you nail or screw in the old hardware.
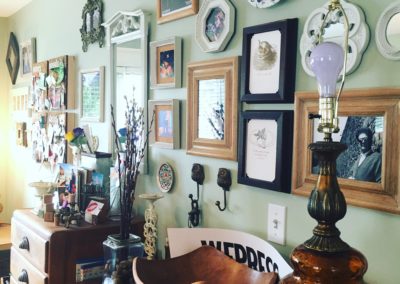
That’s it! We’re ready to hang our inspiring, DIY wall art.

Get in Touch
Say hello . . . 604.354.5811
Drop me a line . . . denise@craftingwithcrap.com
Find me at . . . www.denisecorcoran.com
Crafty adventures via . . . www.thriftybydesign.ca
News & Events
Keep up to date at . . . www.instagram.com/deniseccorcoran